How I made my countertops look new again- using contact paper!
Admittedly, I was super super hesitant to cover my countertops in contact paper. I’ve waffled for months on what to do with my countertops- should I make new countertops? Should I get install new laminate ones? Should I keep drooling over the butcher block ones I don’t have a budget for?
I finally decided that I didn’t want to try and replace them myself- mostly because I haven’t really done any plumbing before and I’d have to take out the sink. Perhaps that will happen when I’m feeling more adventurous… anyhow, here’s what I learned about how to apply contact paper to countertops. For those of you who think this is sticking paper to a countertop, it’s not. This wrap is a decently thick plastic- very similar to the wrap that is used on cars.
Surprisingly, even with my sub-par application skills, the end result looks really awesome and the process didn’t take a whole lot of time at all!

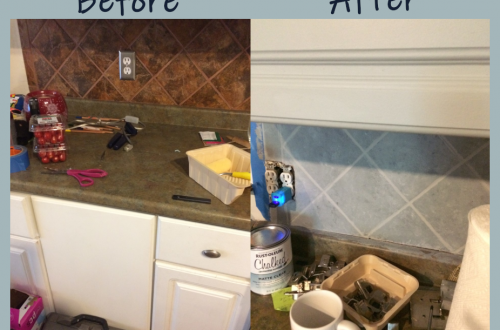
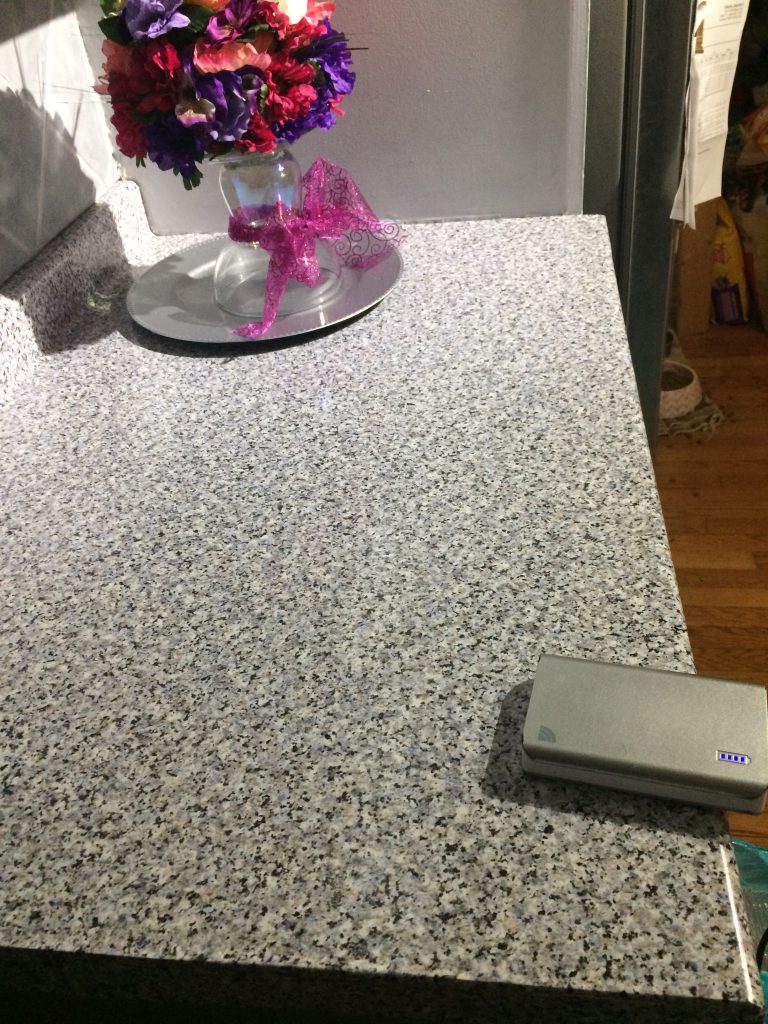
The finished countertop (above) is a far cry from what I started with as a surface. My countertops not only did not fit with the design I wanted for my kitchen, they were chipped, scratched, worn and otherwise just ucky looking.
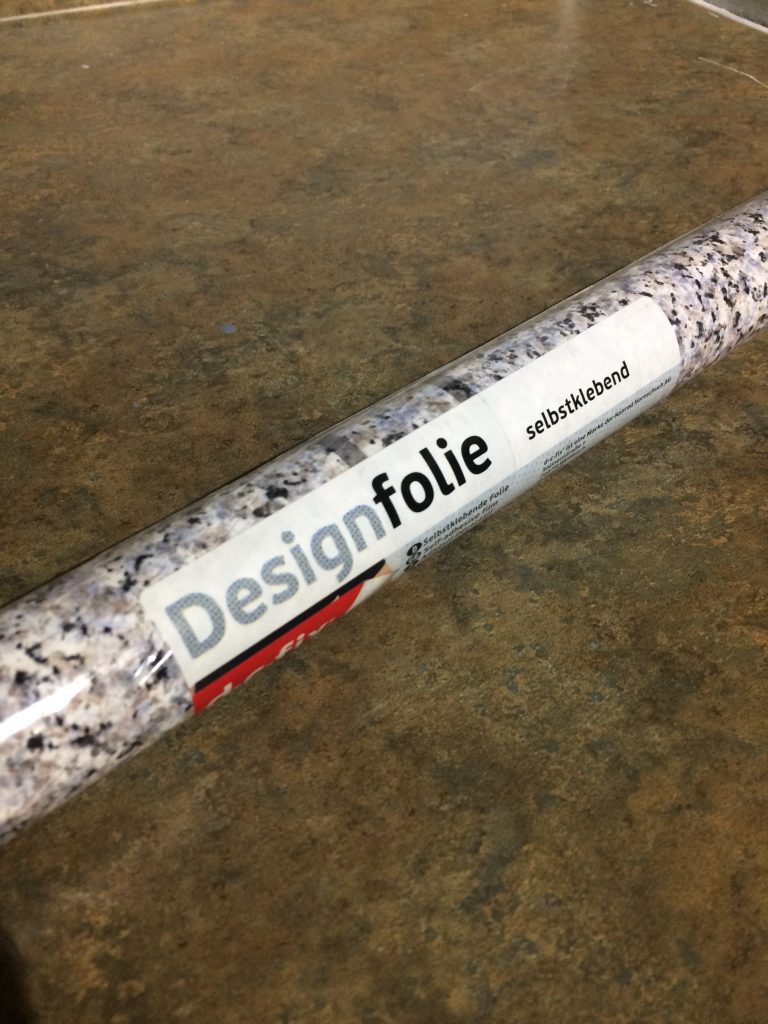
After doing a bit of searching online- I saw several posts using dc fix Designfolie contact paper that resulted in really nice countertops. I picked up this https://amzn.to/3r2Y1ge style in the color “granite grey stone” and I also ordered the application kit https://amzn.to/2KgPzZM which I wasn’t particularly keen on buying, and figured I’d return it if I didn’t need it.
So, about that application kit.
Get the kit. Seriously, that little scraper felty thing is probably the only reason I got the contact paper to sit flat. The razor knife- well they’re like $1 at Harbor Freight, so I dunno, but the felty thing is worth it.
I very quickly learned that I am TERRIBLE at applying contact paper. Like really really bad. The first piece that I applied- I didn’t use the felty thing- and I had to take it off because it was all rumply. I caved and opened the applicator kit.
The next piece I put on- awesome. I cut the paper to about half of the width on the roll to apply it also- I figured starting with a smaller piece would be easier. It absolutely was. I peeled back the backing for about two or so inches, stuck the end to the top edge of the countertop, and smoothed it down with the felty thing. I smoothed in a pattern where I made a christmas tree shape- first the tree trunk down the middle and then a bunch of branches to smooth out any bubbles under the paper. Worked awesome!
I overlapped the next piece two or three inches over the first one- because who really cuts perfect straight lines with this stuff? Not me. With the pattern in the paper- you can’t tell it’s overlapped at all.
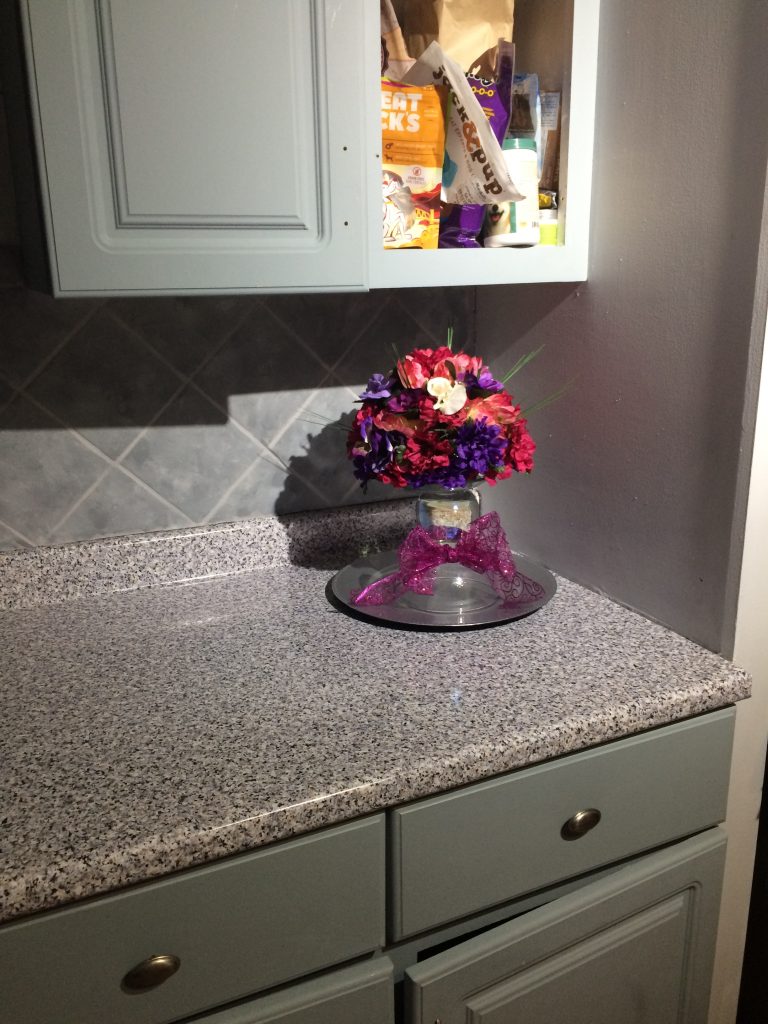
I was really really happy with the look of my new countertop- and that it wasn’t crumply or bubbly anywhere.
I’m going to finish my cabinets- and tell you all about how I did those in a future post- and my kitchen will be done! 🙂
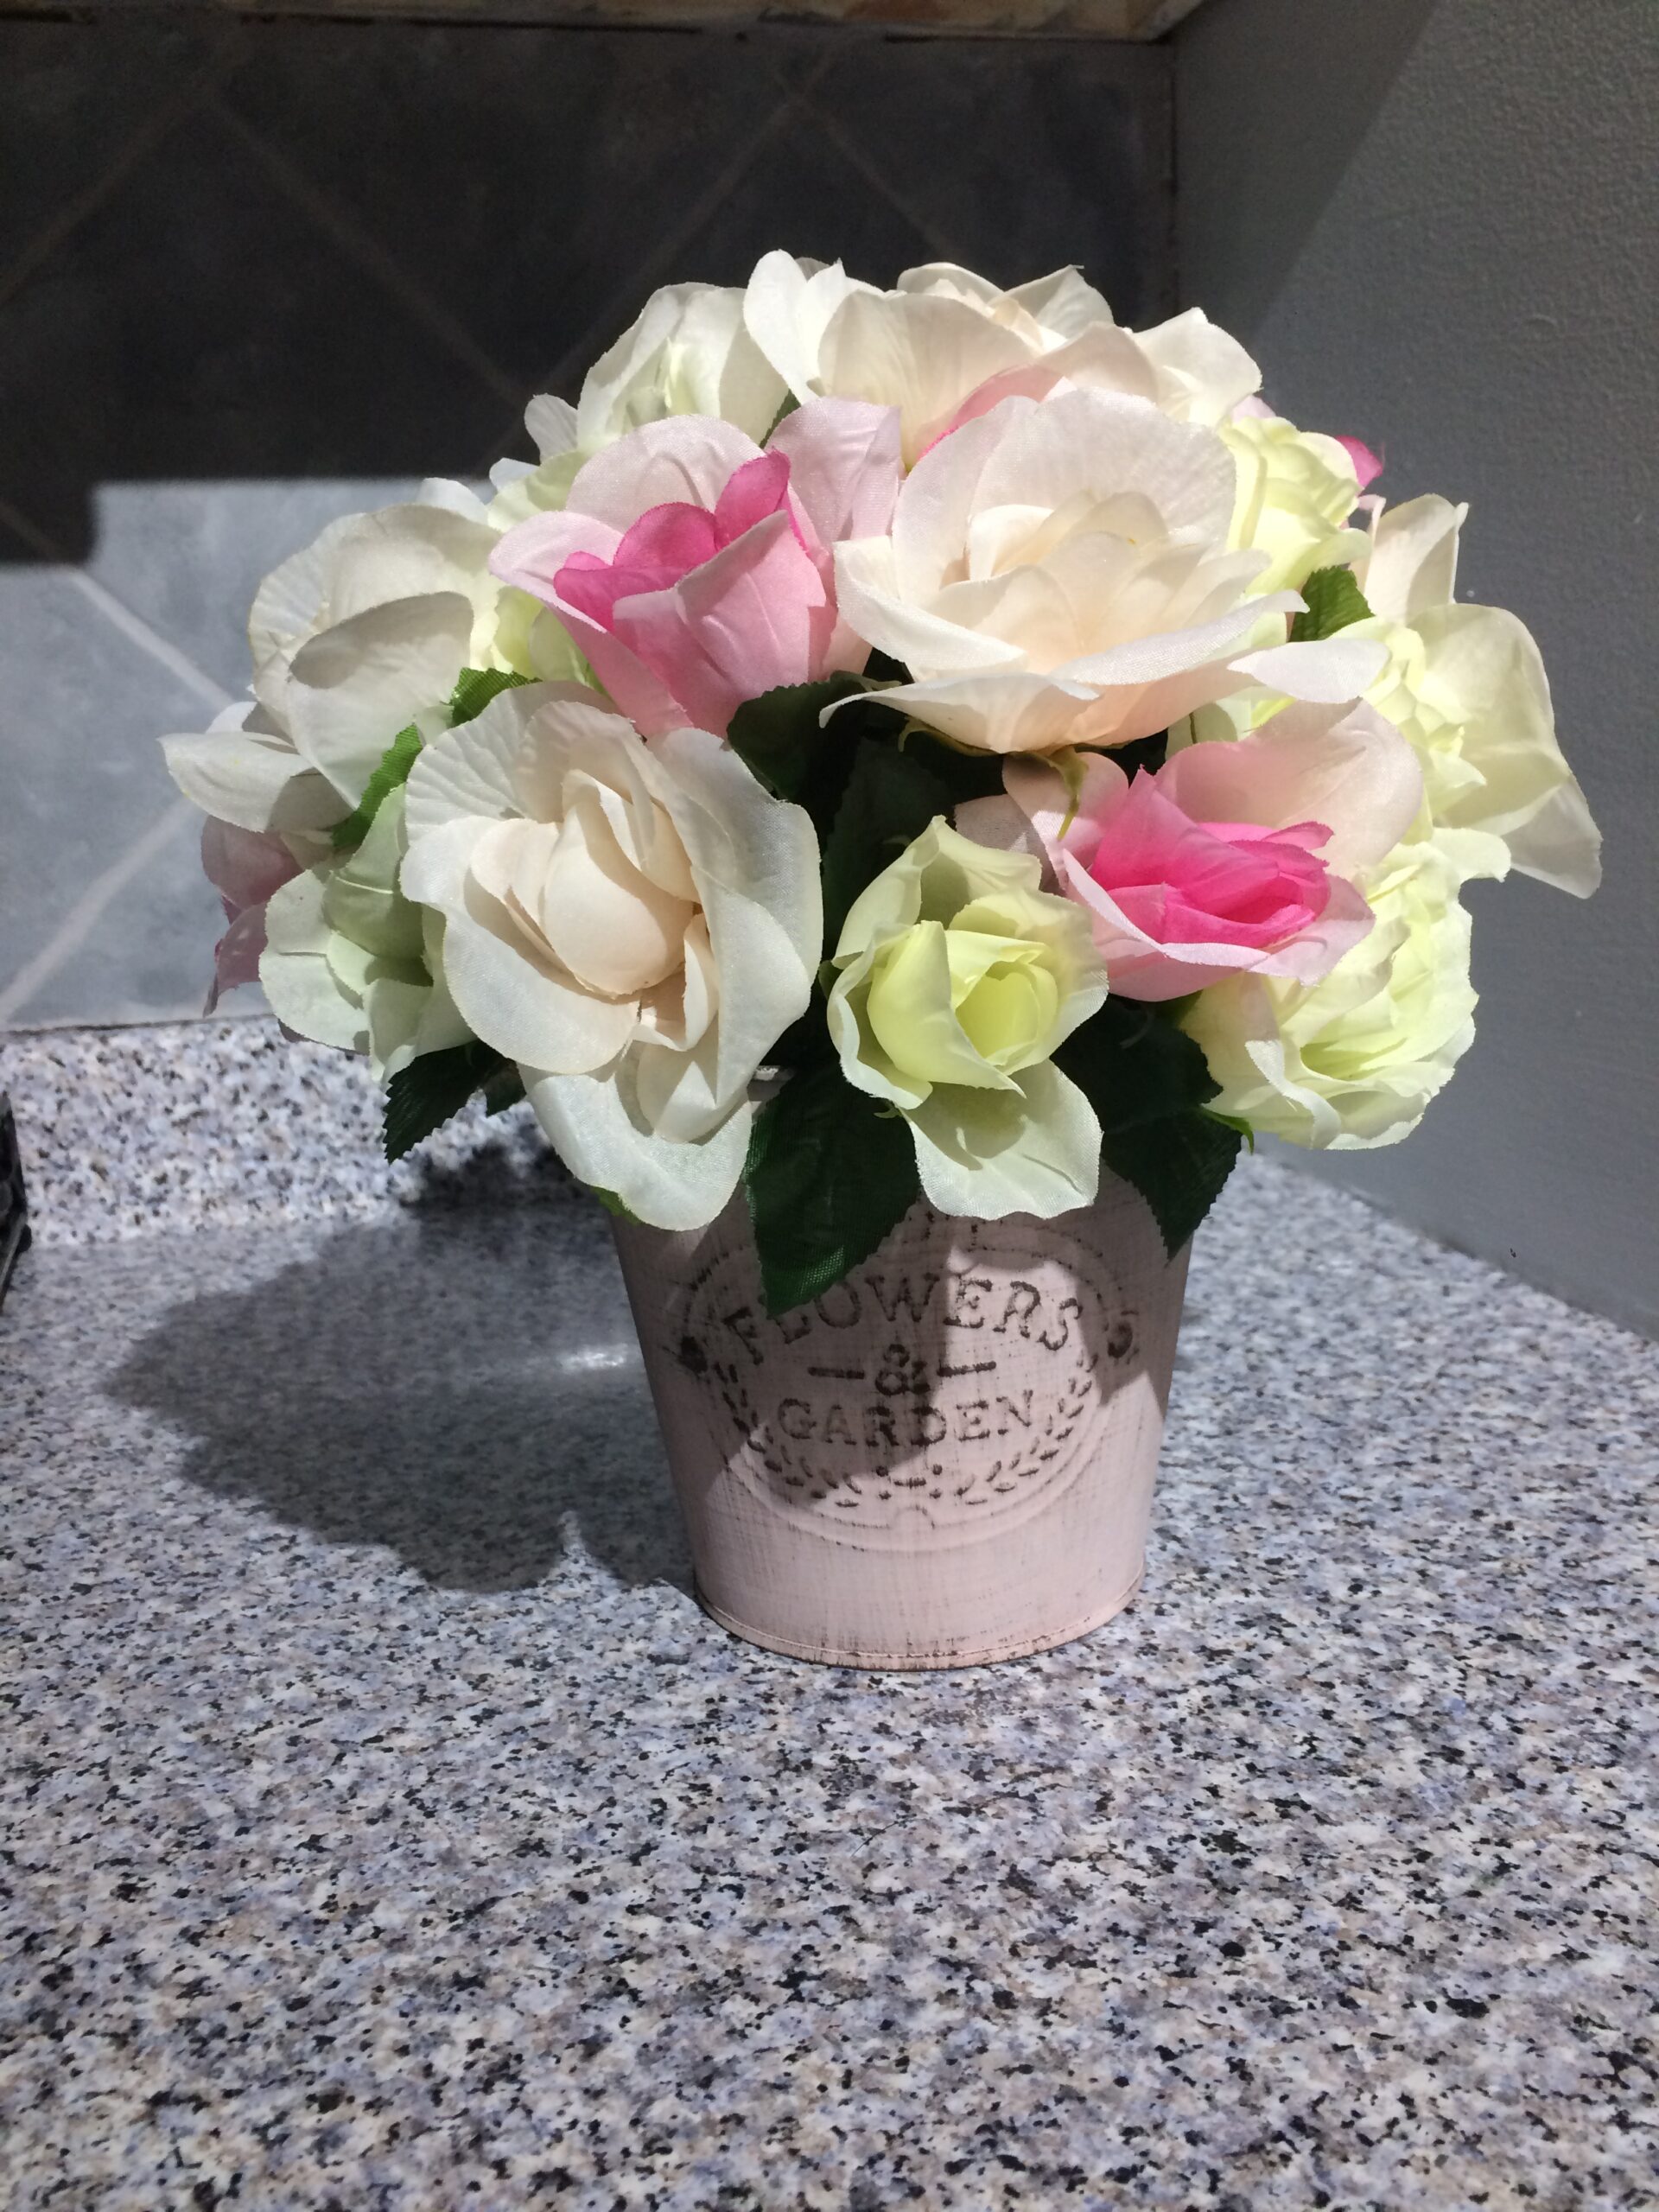
Let me know what you think- and check out how to make that cute floral centerpiece (less than $10!) here: https://craftsand.art/2020/12/13/creating-a-10-floral-centerpiece/