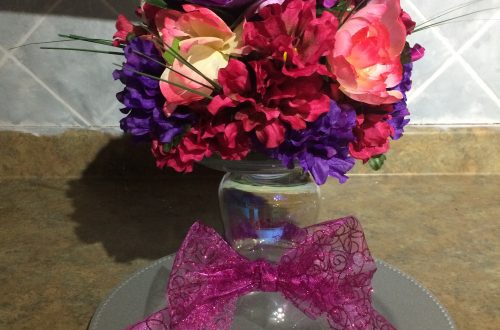
Creating a Fancy Bucket Full of Roses for Less than $10
Happy Spring! Well, almost. Here’s an awesome way to put a bucket of spring flowers together for a table centerpiece or just for a nice pop of color in a room.
Did I mention I did this for less than $10? 🙂
Ok, so admittedly when I shopped for the supplies for this project I might have picked up a whole bunch of things to figure out what to do with later.
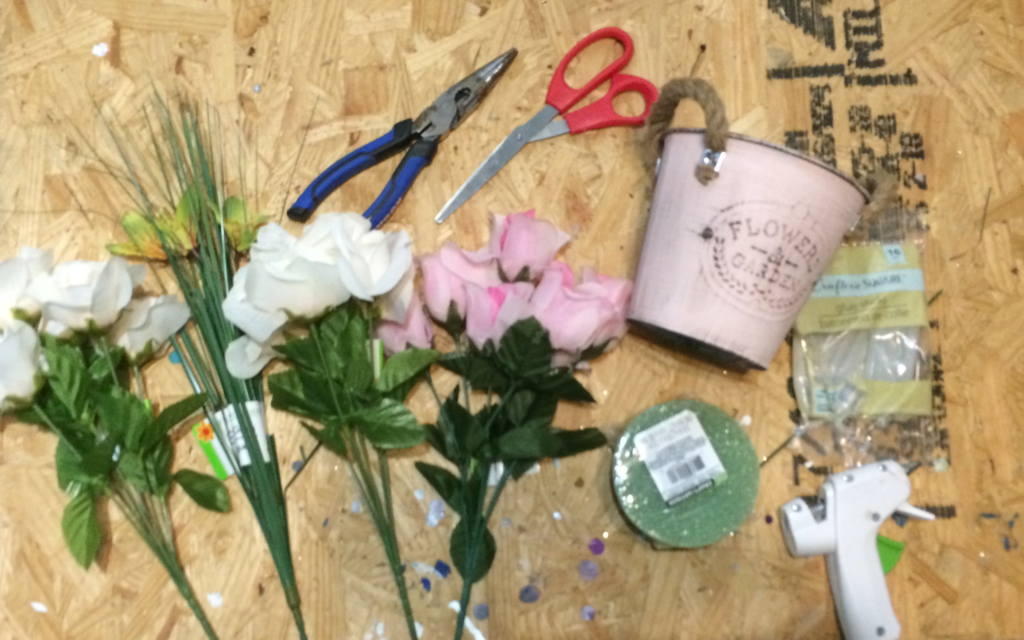
For this project I used a $3 bucket from Dollar General (already painted pink), some Dollar Tree flowers, a chunk of floral foam (also Dollar Tree), and some cardboard I had on hand from a shipping box. On hand I had a pair of scissors, my trusty dusty pliers (with a wire cutter part) and a low temp hot glue gun.
One of the first things that I do for making a floral arrangement in a shape like this is to push all of the leaves on each stem to right up under the flower. This helps add some depth to the arrangement and fill in some extra space too.
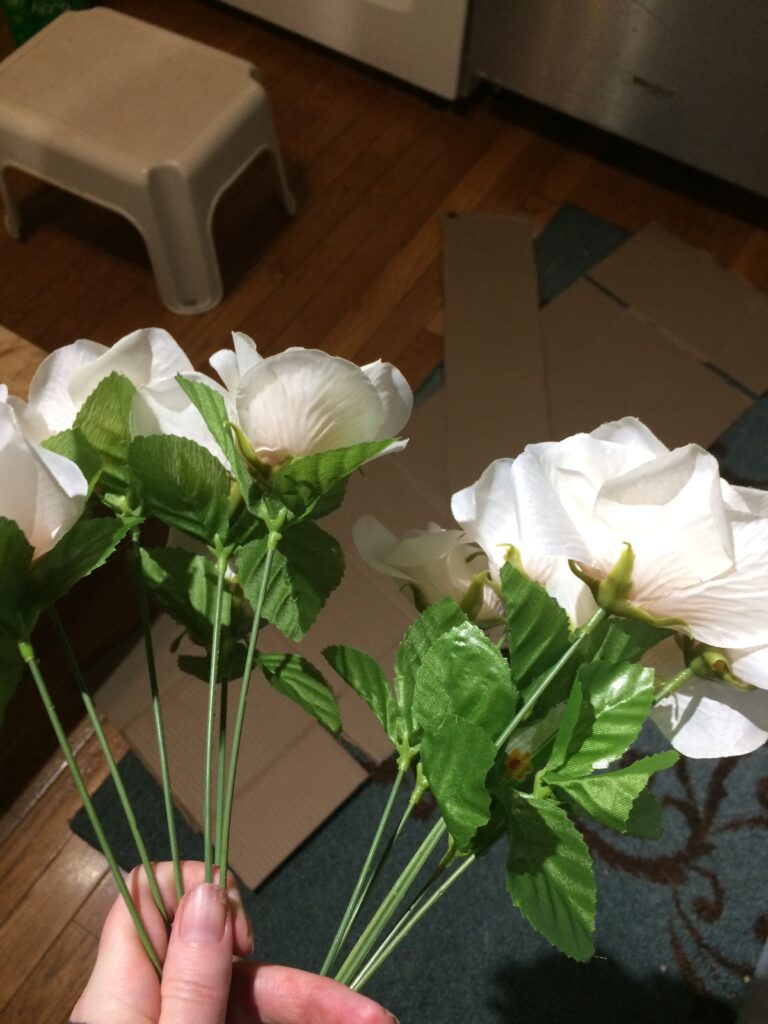
on the right is how they come in the bunch.
After all of the flowers are cut into single stems and prepped by moving up the leaves, you need to decide which blooms are the largest. Making a balanced arrangement is a lot easier if you place the larger blooms first and then fill in around them. For this project, I cut the stems to approximately 6″ and trimmed the stems shorter as necessary for placement. (This is where the pliers with a wire cutter part really help.)
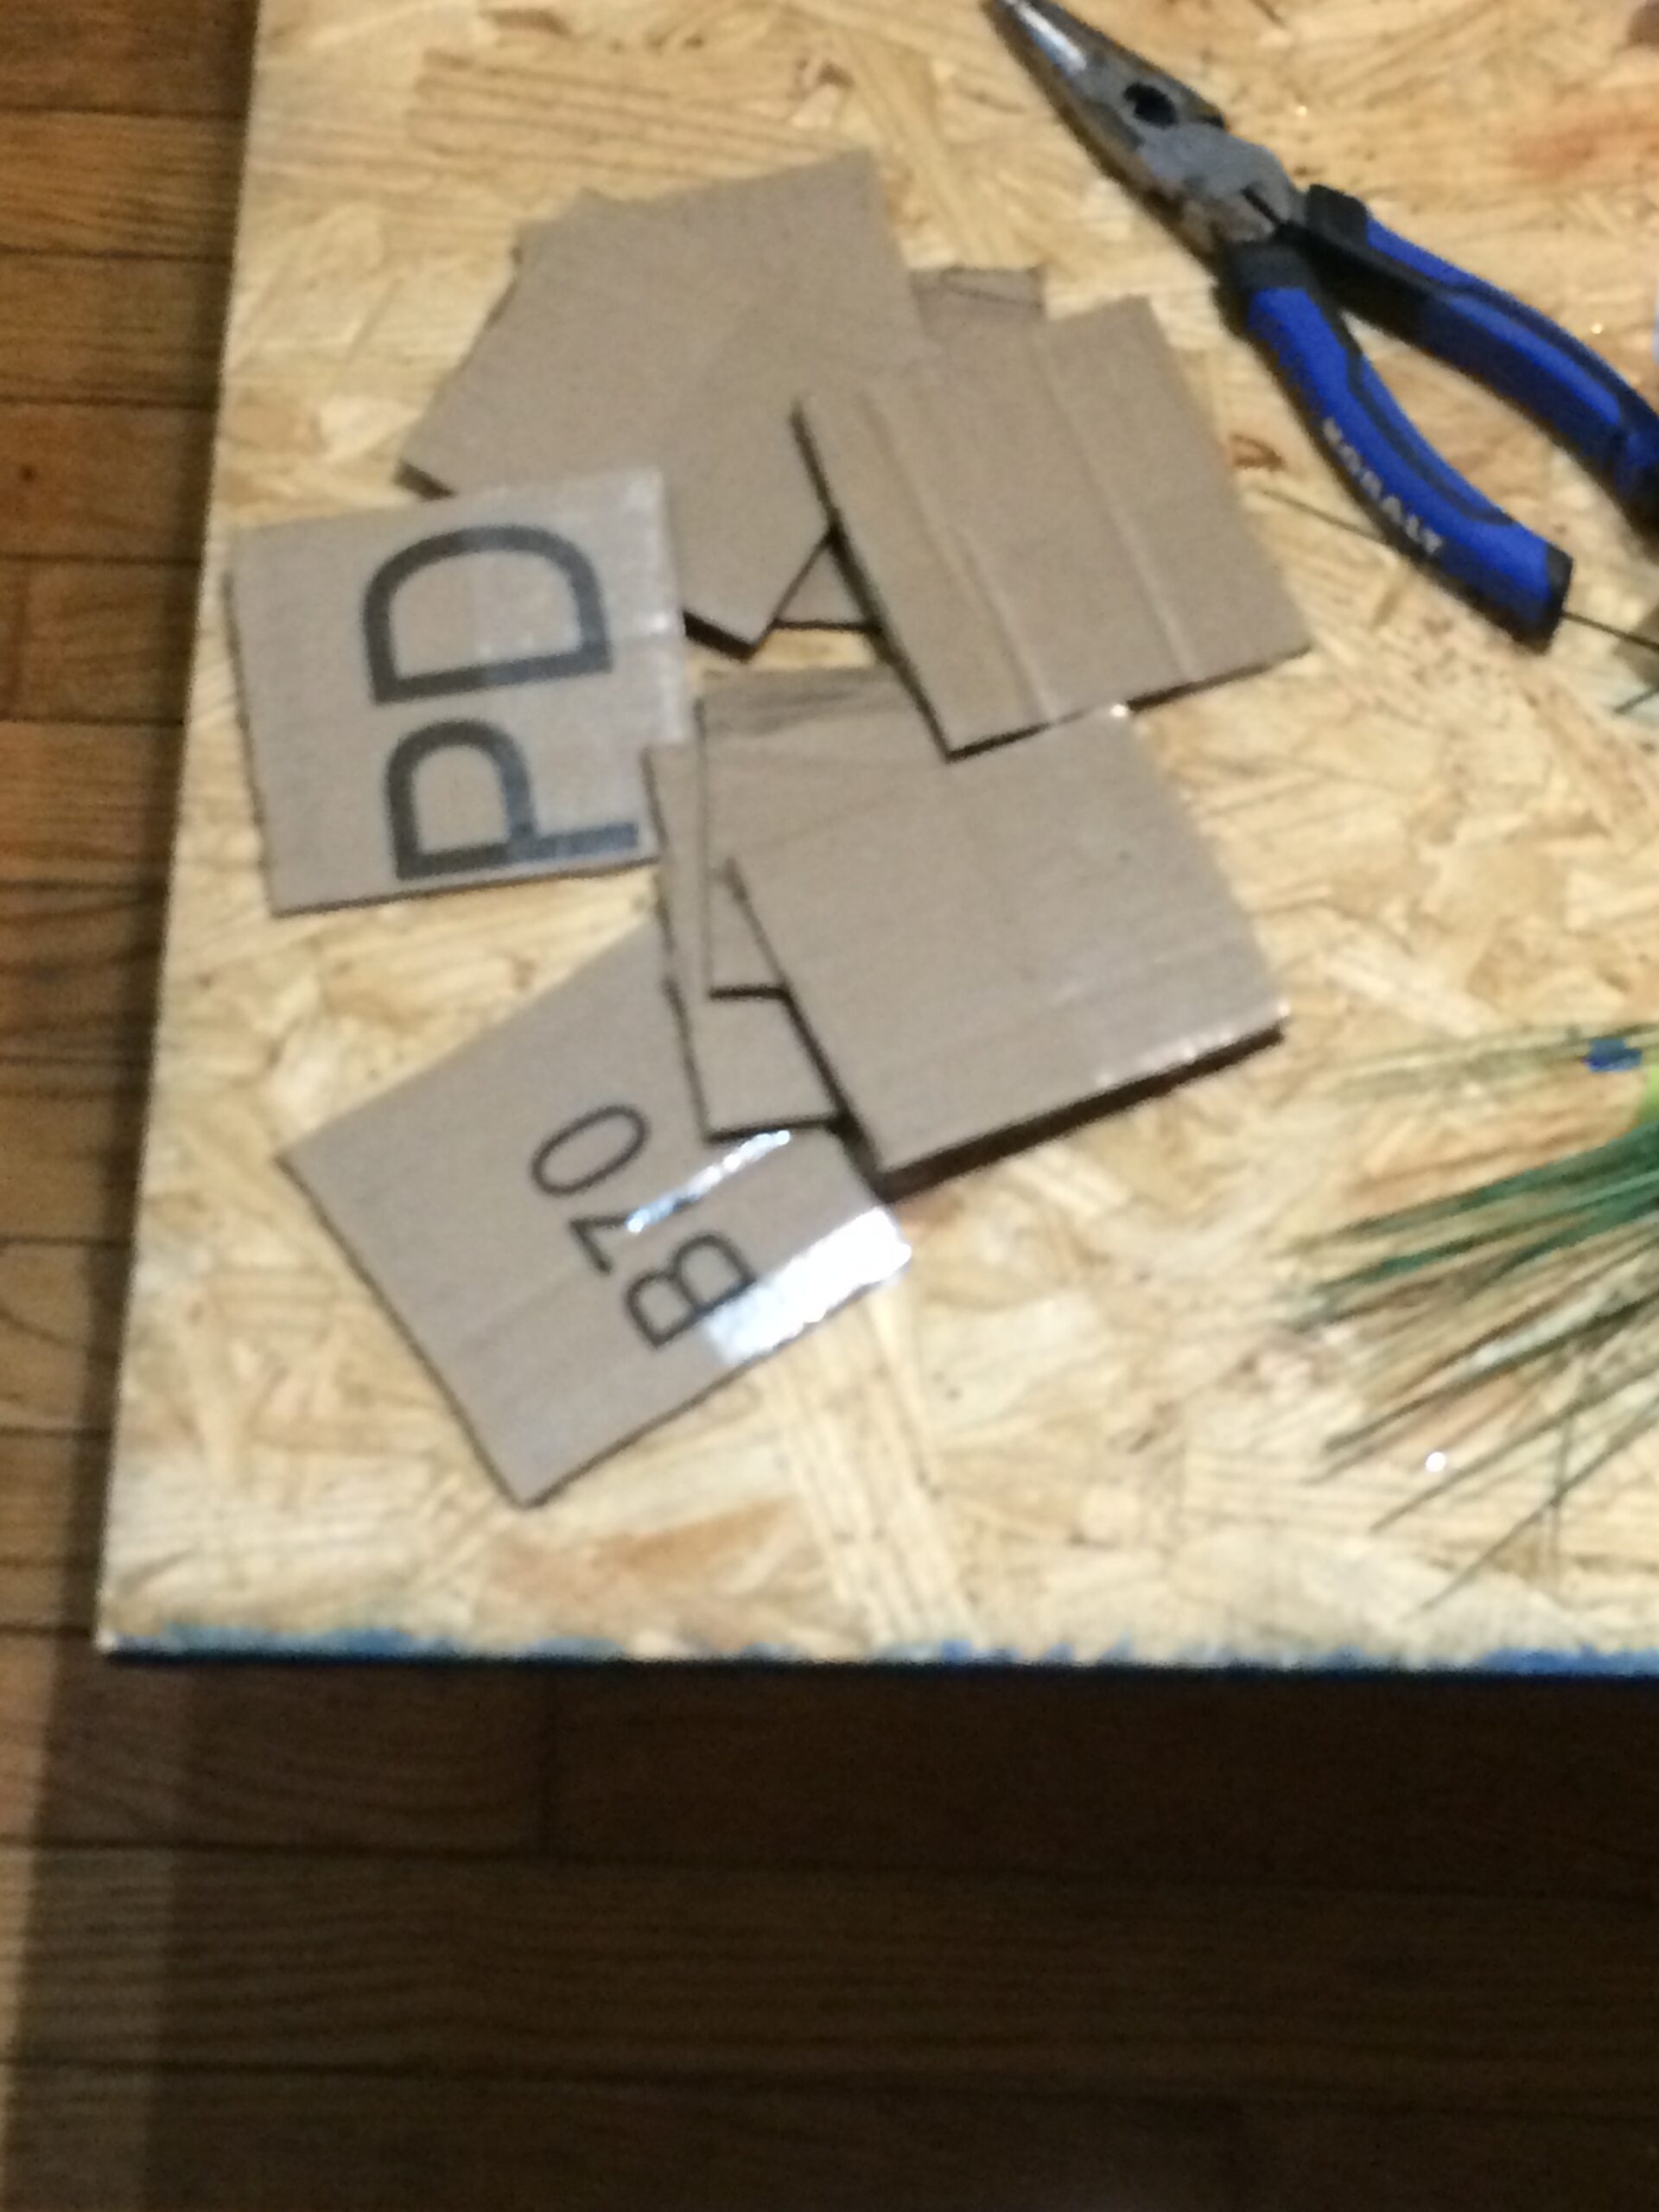
Next, I began to prep my bucket to hold flowers. If you want, you can hot glue down two blocks of floral foam- but I didn’t want to waste my foam when cardboard would work just fine. I cut out squares from an Amazon shipping box using regular scissors- wide enough so they would fit in the bottom of the bucket.
I fit these squares into the bucket using hot glue, and stacked them so every one was rotated from the one underneath it (see below).
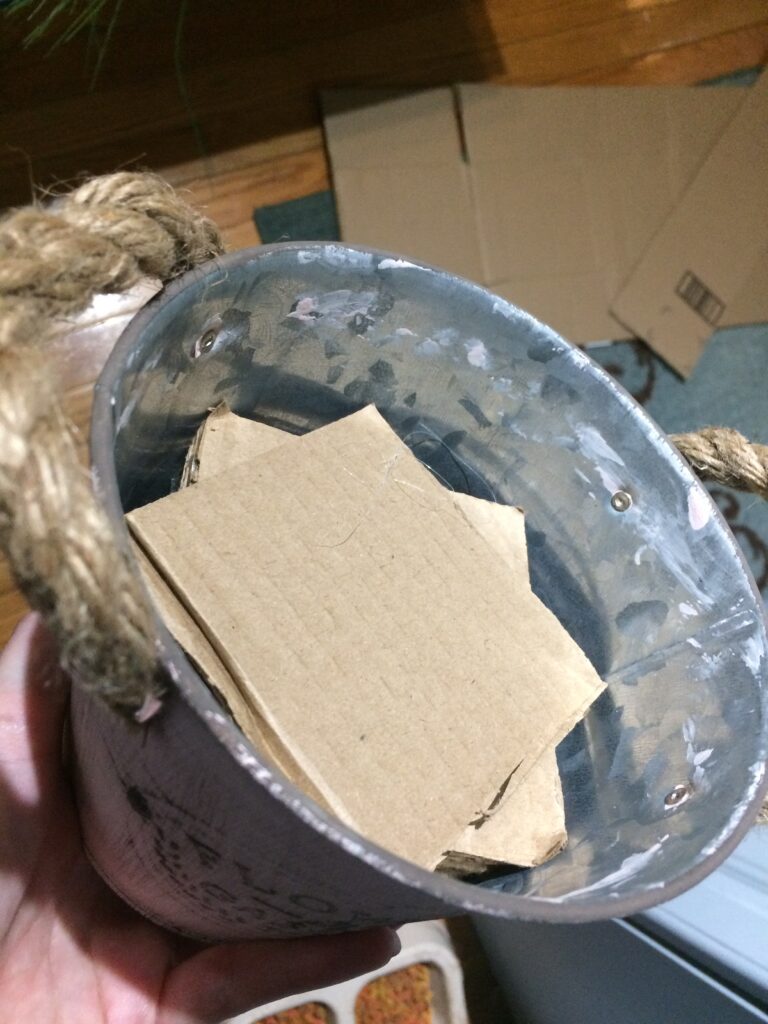
I placed enough cardboard squares so that my foam would end up about half an inch above the bucket. On top of the cardboard I hot glued my floral foam and let it cool and dry. It is quite important to let the hot glue set solid for this since you are going to be poking at it with wire flower stems 🙂
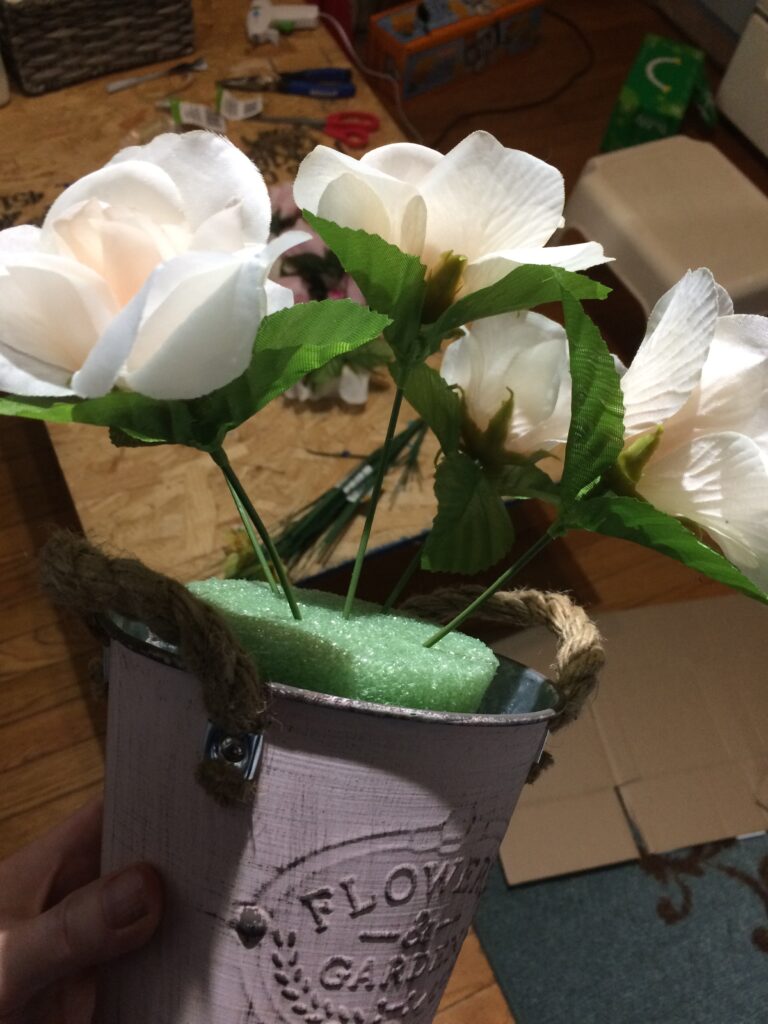
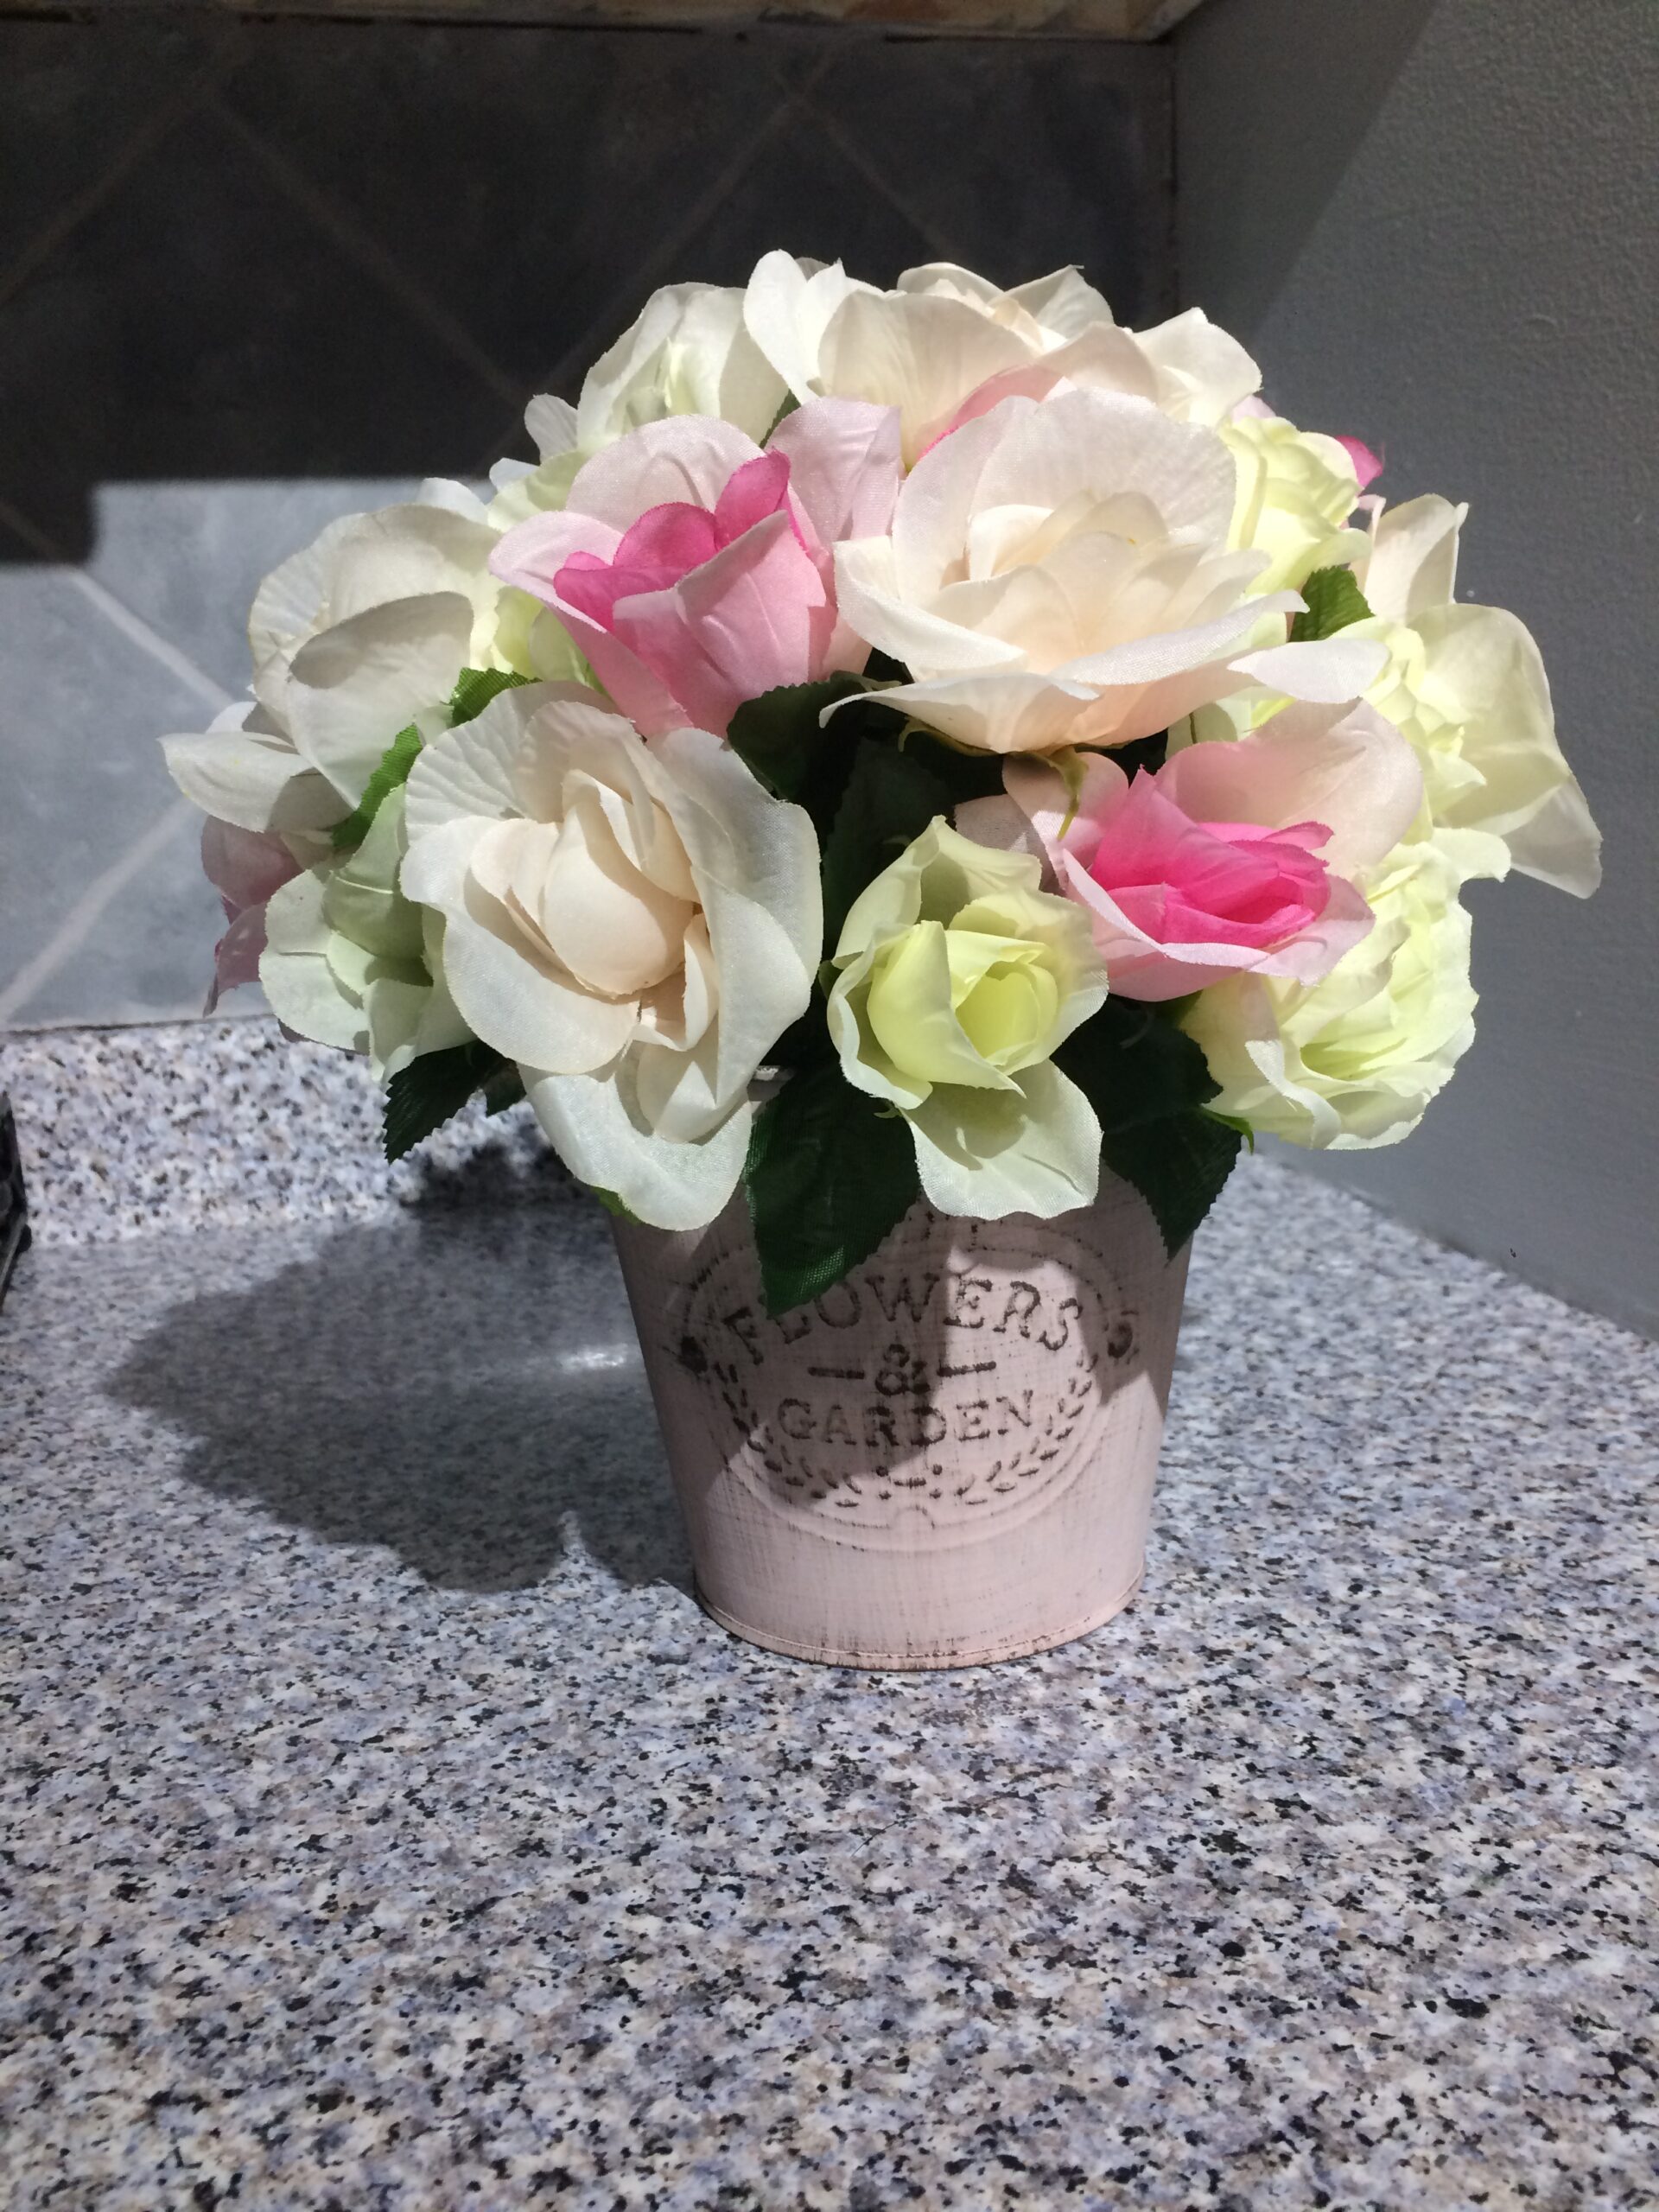
As you can see above, I try to orient the large blooms somewhat symmetrically- especially in a round arrangement- so it doesn’t look off balance. After inserting the stems into the foam, I took my next largest flowers, placed those and repeated this process. Where necessary, I trimmed the stems so the flowers could be snugly inserted into the foam.
If you happen to do what I did (you’ll know) and end up with a hole that doesn’t hold the flower stem- do not despair! You can dot the flower stem with a bit of hot glue, hold the neighboring flowers out of the way of the glue, and poke a new similarly placed hole. Also, pro tip- pull off all the hot glue spiderwebs as you go.
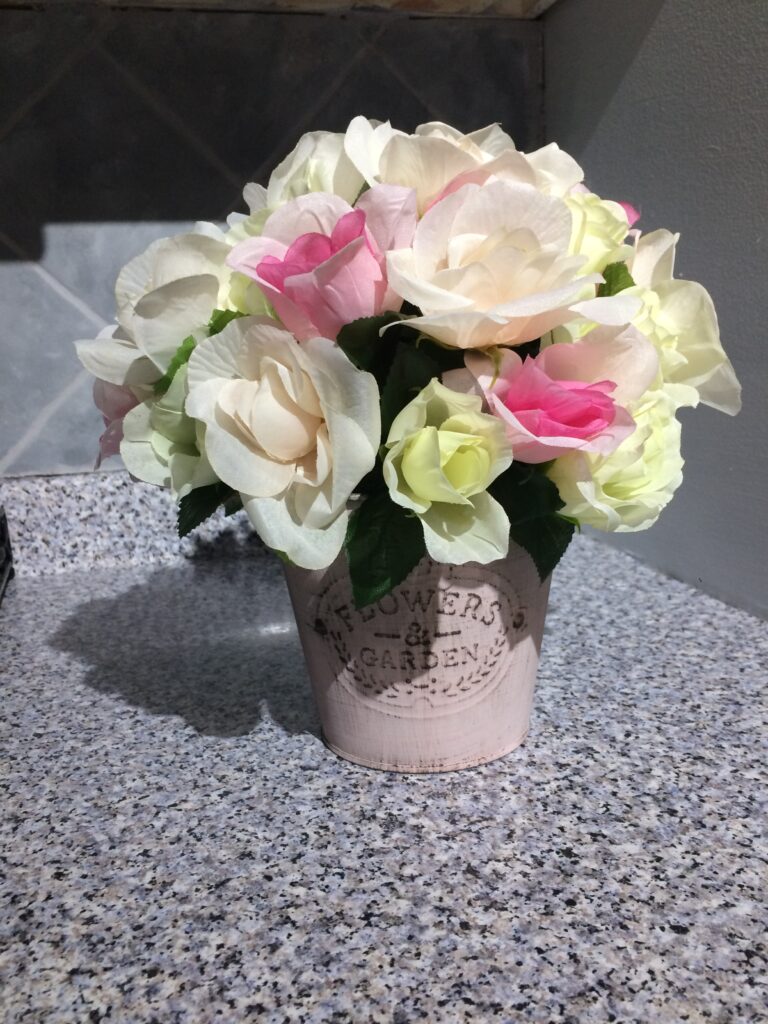
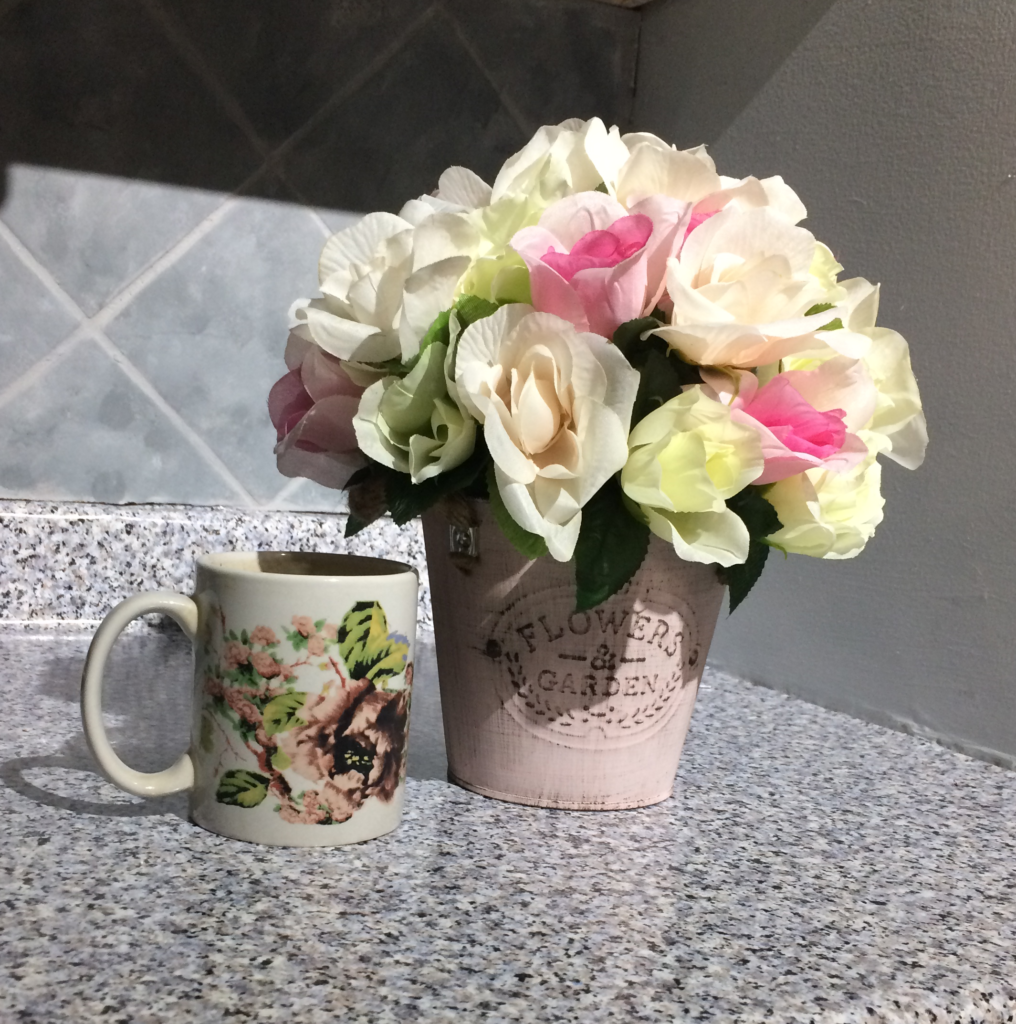
Don’t forget to fluff your flowers and find a nice spot for your new creation 🙂

You May Also Like