Ugly stair treads? Make them beautiful for less than $100!

How many of you have ripped up the carpet on your stairs only to find unhappy dirty pine stair treads underneath? Was your first thought “We need to replace those?”
Here’s a fun way to turn ordinary pine stair treads into a new gorgeous set of stairs- all for less than $100 in materials. This project took me a total of around four working days time- but I split it up and worked a few hours a day over a period of a few weeks and moved kind of slow. It’s very likely that this project can be finished faster using larger time chunks.
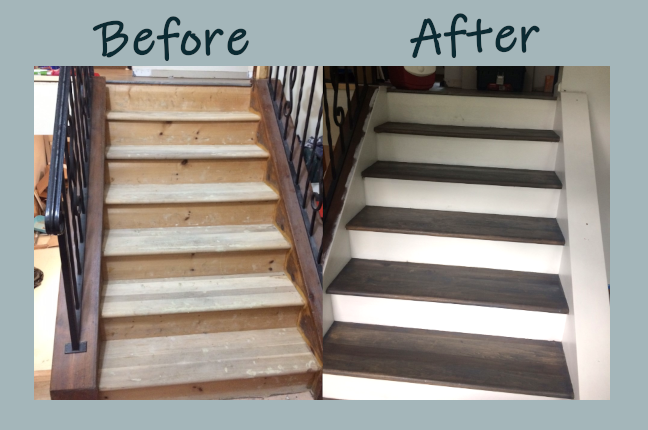
So here’s what the stairs looked like after the carpet came off and the carpet tack strips were removed:
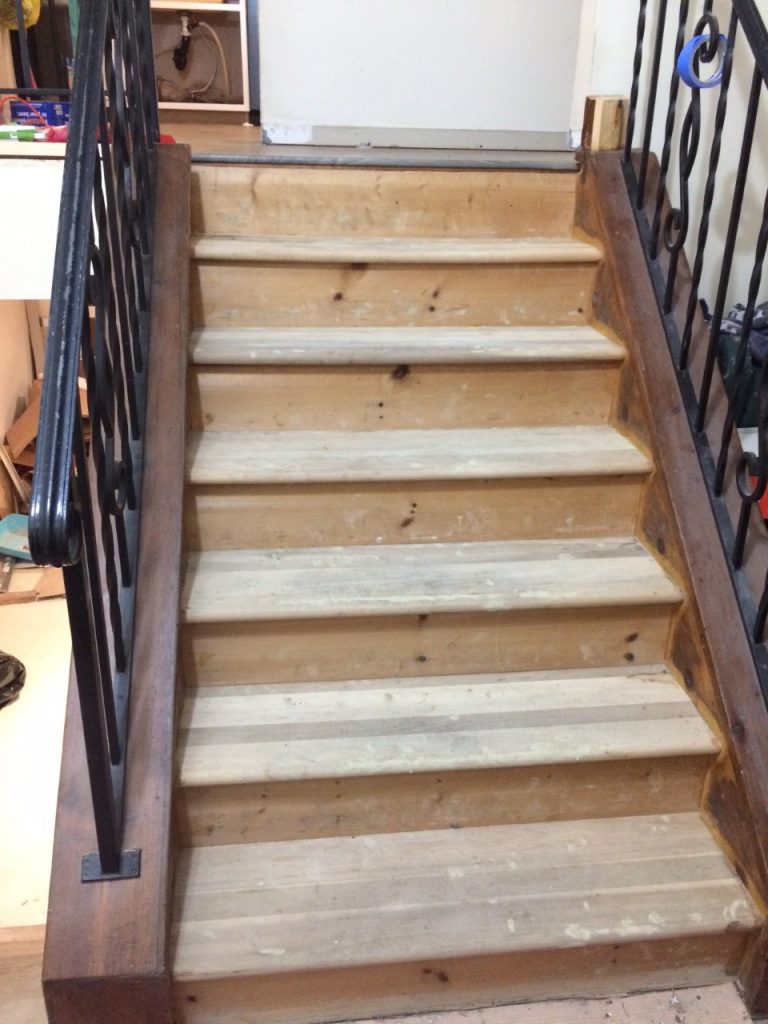
The stair treads were well… ooof. You can see that there are nails, holes, divots, and well the pine was just worn.
On to the challenge! The first thing that I did was give the stairs a rough sanding with 80 grit using my random orbital sander (like this one: https://amzn.to/3llo7Xu). I use a corded sander because it seems a bit lighter to deal with. To get in the corners, I used a oscillating tool with a sander attachment (like this one: https://amzn.to/2JauG2o). And no, I’m not sponsored by Dewalt or anything, these just happen to be what I own. Other brands should work just as well- but use your judgement with the cheapies. Side note- If you need a tool and buy through the links I provide I may get a small commission which will help fund more projects. 🙂
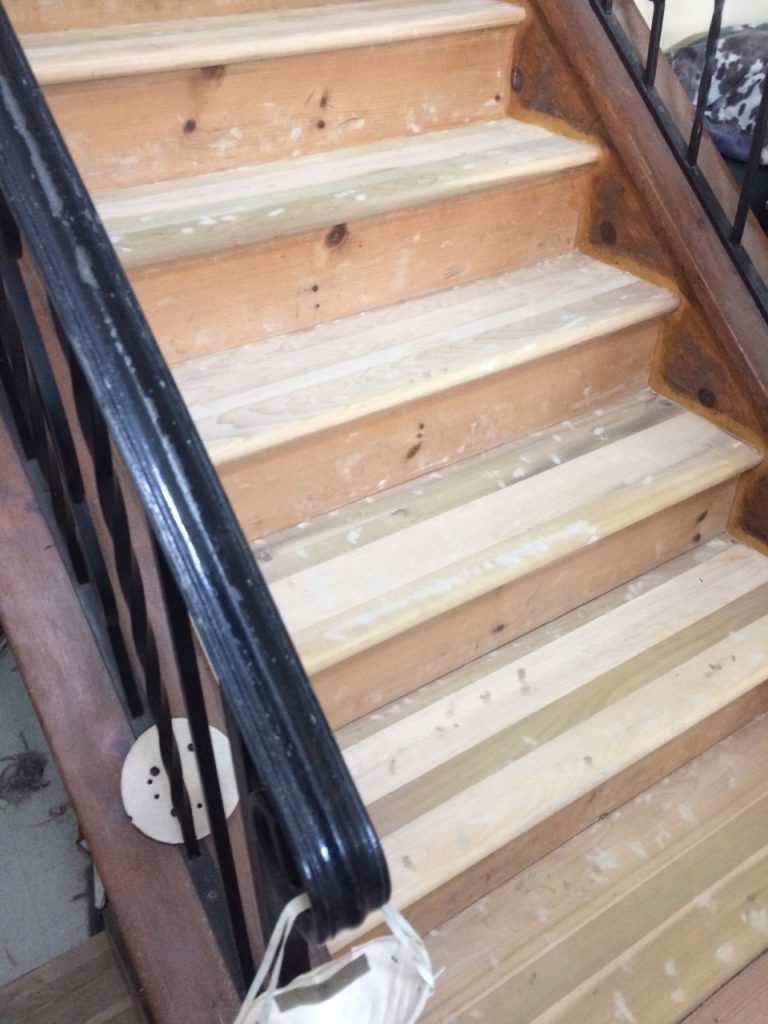
Alright, so I sanded the stairs with 80 grit. Gotcha. This was actually super helpful, because then I was able to see the zillions of little holes left by the carpet strips and all of the nicks and divots in the stairs (sigh). I filled all the holes with a basic wood putty- however– I definitely should have used the sawdust mix I’ve used in the past of one part sawdust to one part wood glue to get a more tintable finished product. The wood putty claimed to be stainable but nooooooo it wasn’t. More on that later on.
Here’s what the stairs looked like after 2 rounds of filling and sanding:
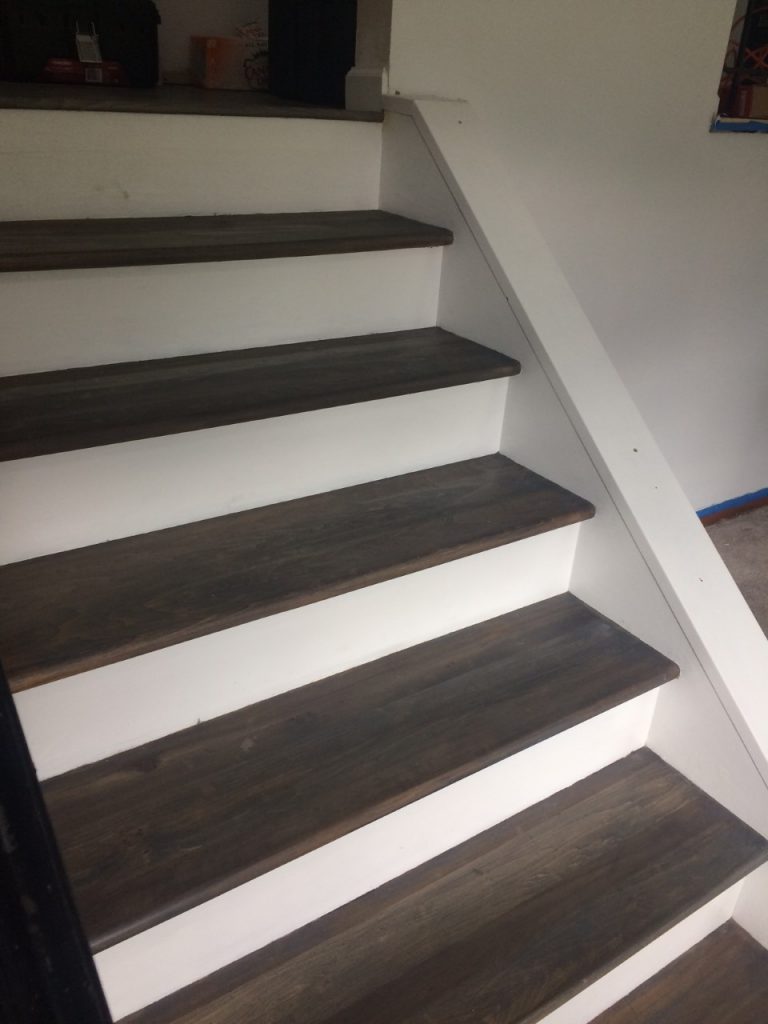
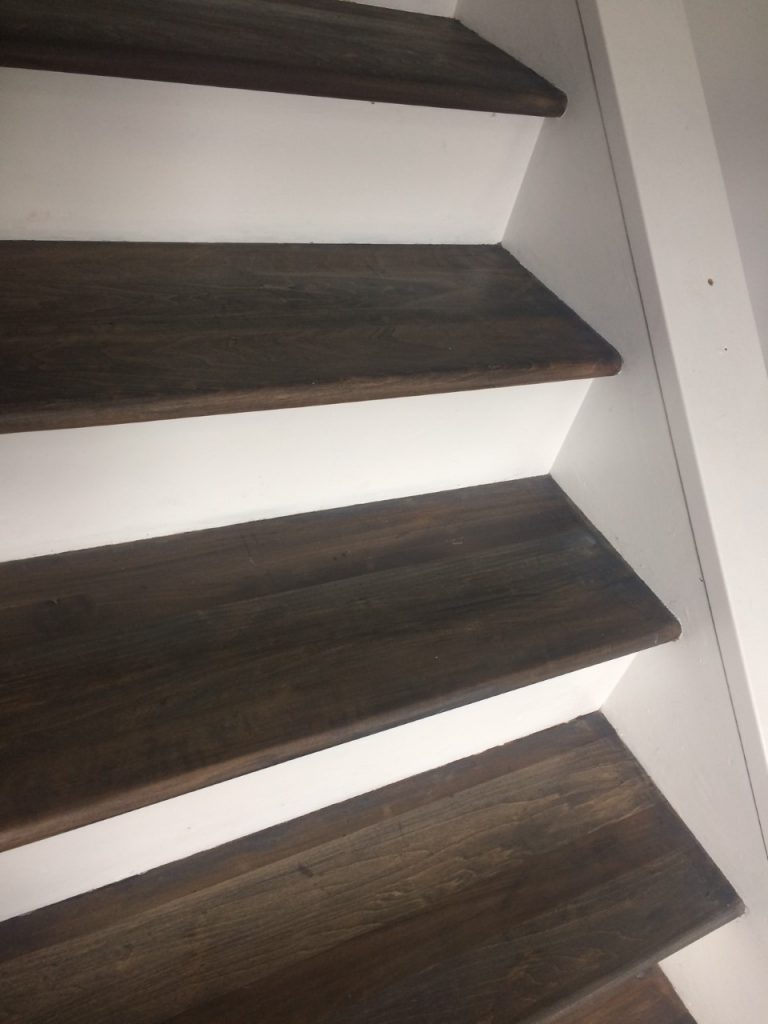
Next I started stain application. I first used Minwax Grey wood stain (https://amzn.to/2KGaHJ1) and that’s when I learned that the wood putty I had used did not take stain. My stairs looked like reverse leopard spots since I had used so much filler- it was kind of awful. Not to despair! I was going for a bit of a worn look anyhow, so I switched to a grey gel stain and darkened it by mixing a 9:1 ratio of gel stain to black acrylic paint. I dry brushed the darkened gel stain over the stairs- trying to camouflage the putty spots.
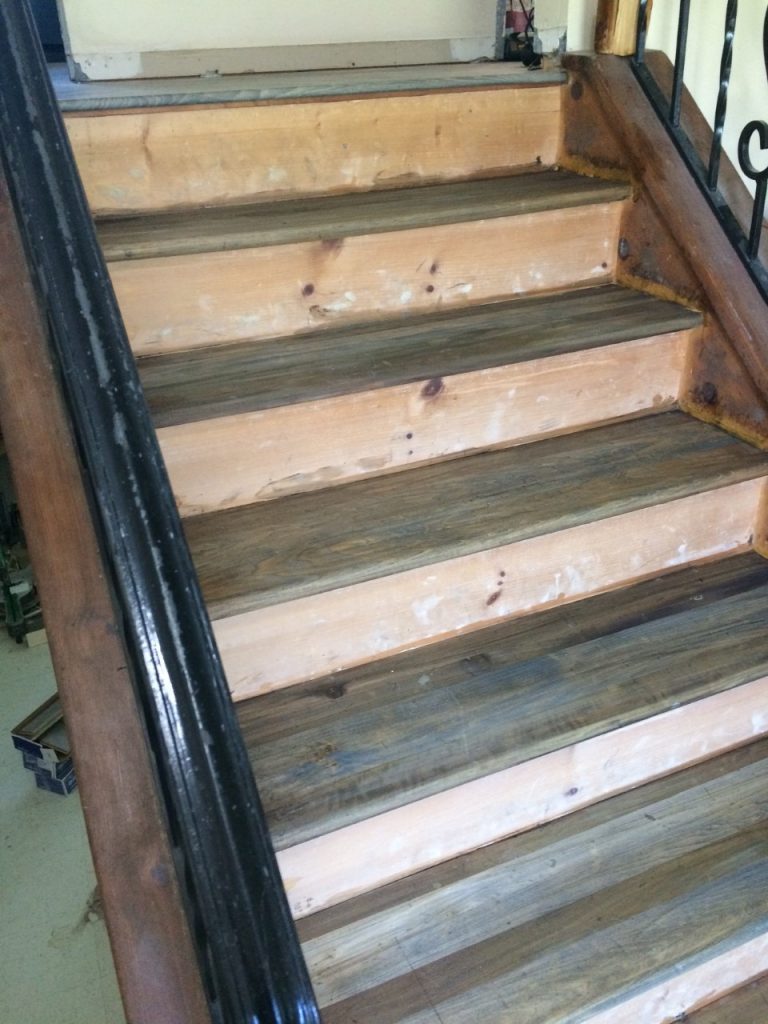
I let things dry, and did a second coat of the darkened gel stain, covering 99% of the putty spots and called that good. I left the stairs to fully dry, I would recommend at least overnight before applying poly. I used two coats of Minwax water based poly (https://amzn.to/3lqP38A) but would recommend an extra coat or two on top of that for high traffic areas.
After finishing the stair treads, I taped off the treads and painted everything else a crisp white. I heartily recommend using a primer first- especially if the areas you are painting were stained previously- or any blemishes or stains will show through your paint.
Here’s how it turned out! 🙂