Refinishing a Tile Kitchen Backsplash With Chalk Paint Created a Whole New Look!
I’ve hated the look of my kitchen for so long- and desperately wanted to change it- but money. Ugh. The major blocker for beautiful renovations is always cash flow. Here I’m going to show you PART of my kitchen makeover, for as cheap as cheap is. I will update things as I finish them 🙂
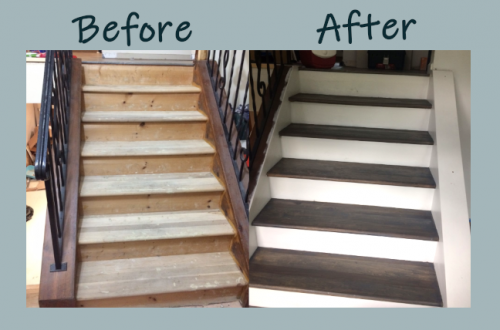
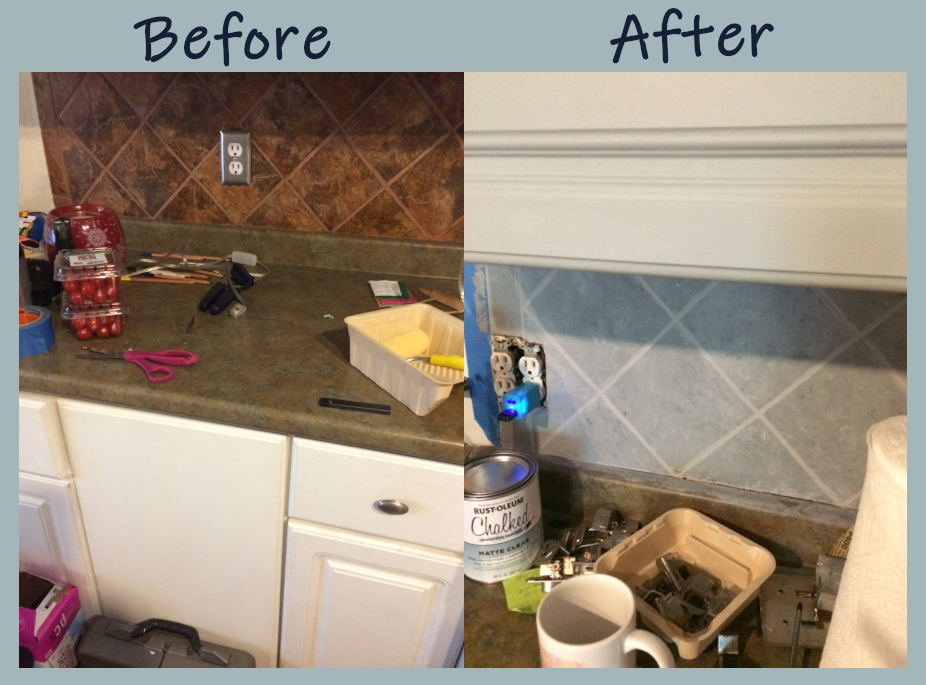
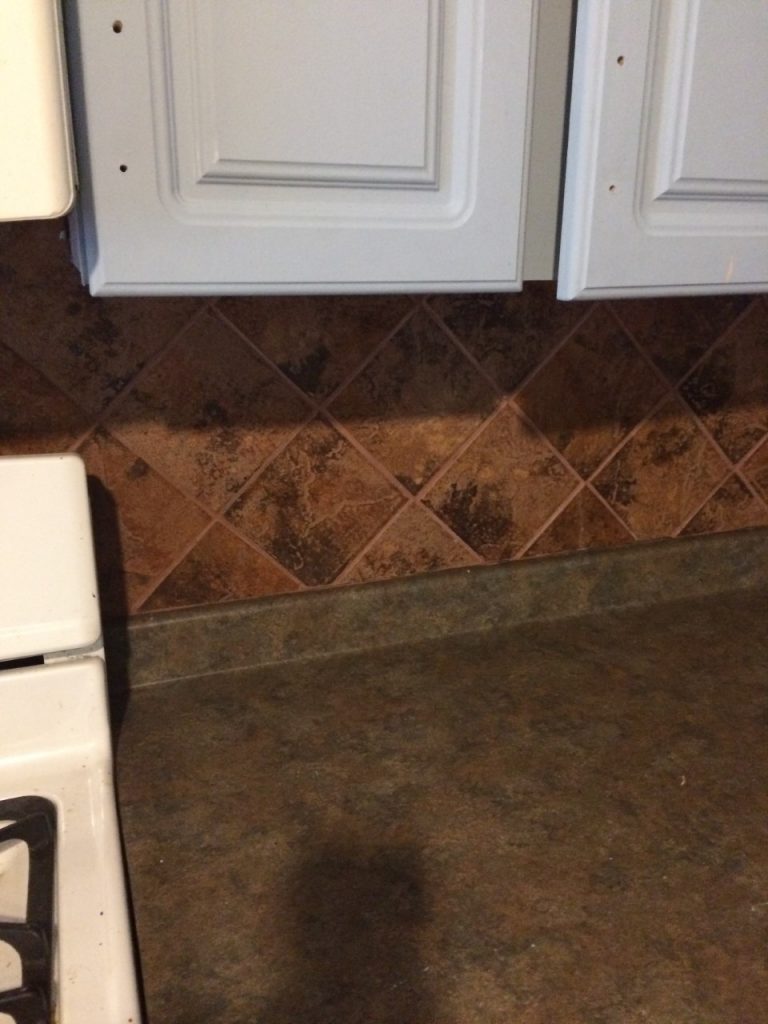
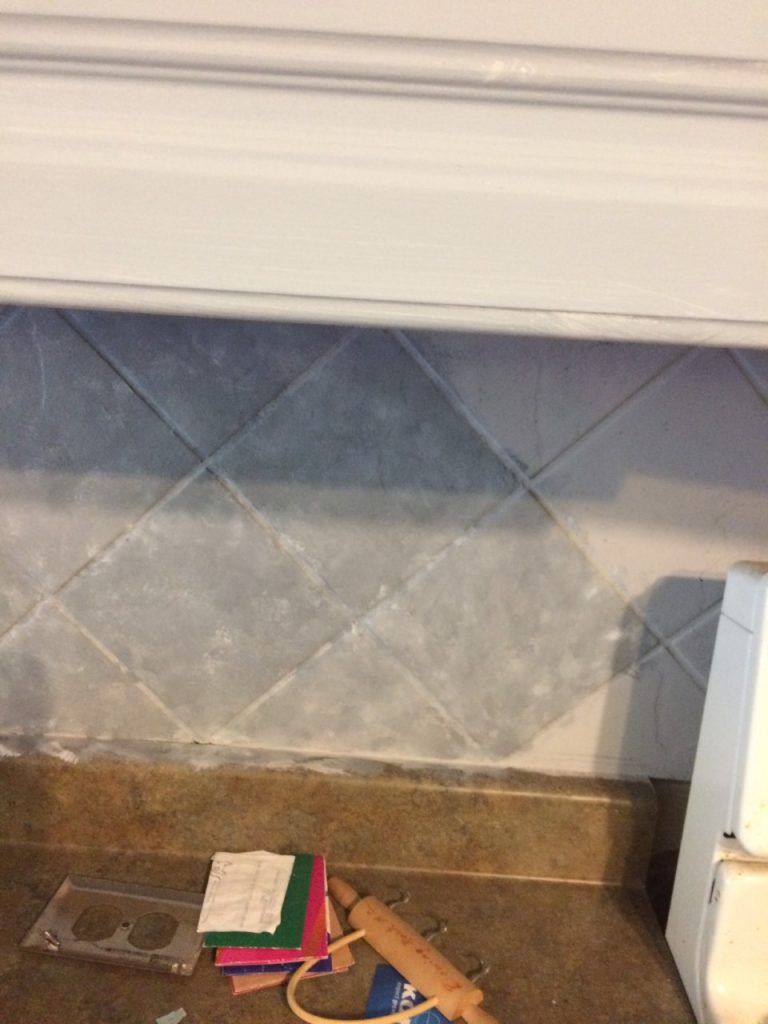
Alrighty, so as you can see on the left up there my “before” kitchen really wasn’t coordinated much and was a bit too tuscan vineyard for my tastes. This kitchen hasn’t seen a nice update since the style on the left was installed a few decades ago. Ordinarily, a kitchen remodel is a huge investment of time and money- both of which I have very little of. So, after watching a few hundred DIY videos and browsing techniques, I decided to try something a little off the wall.
I chalk painted my tile backsplash.
Yup, I did that. And here’s how it went:
I realistically should have started out by taping off the countertops, etc. so my backsplash painting stayed on the backsplash. I am rehabbing the countertops though, so I didn’t give that much mind.
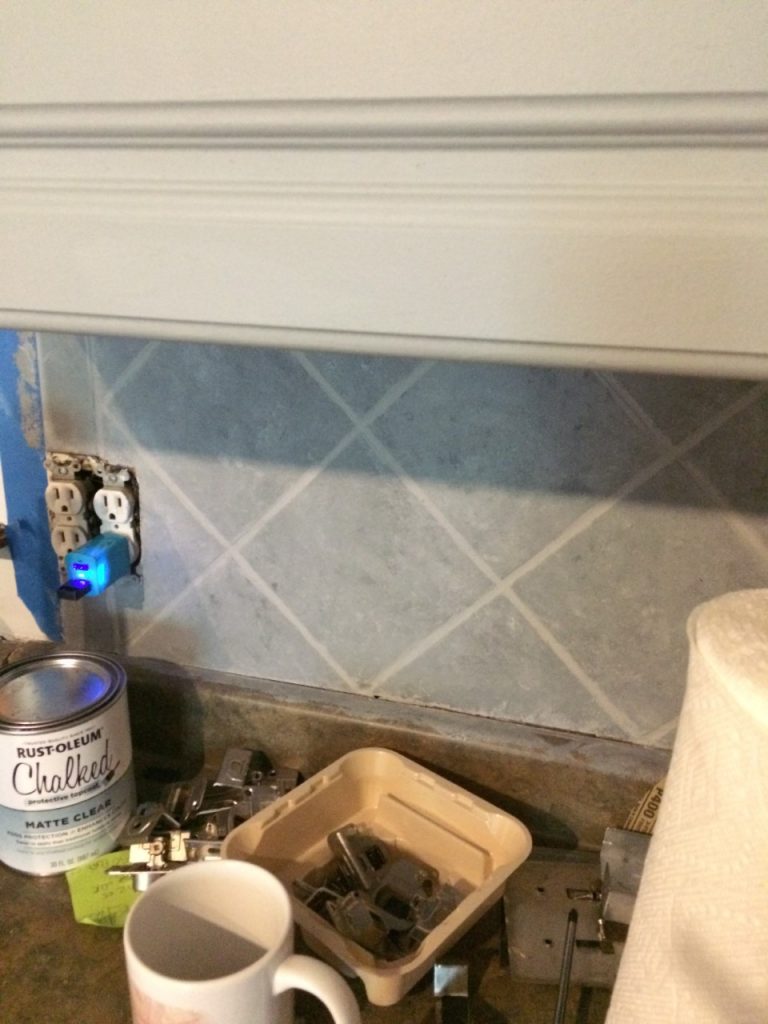
The first thing I tried was to see if chalk paint even stuck to tile. I’d heard chalk paint sticks to just about anything, so I tried it out with a Rustoleum chalk paint in Grey. Not too exciting, but enough to cover the terracotta goodness that was my former backsplash and cover it well.
I did two coats of the Rustoleum chalk paint in Grey before moving on to the exciting part. I chose Behr Chalk Paint in color “Gingham” for my cabinets (post coming soon!) and used this color to accent my tile.
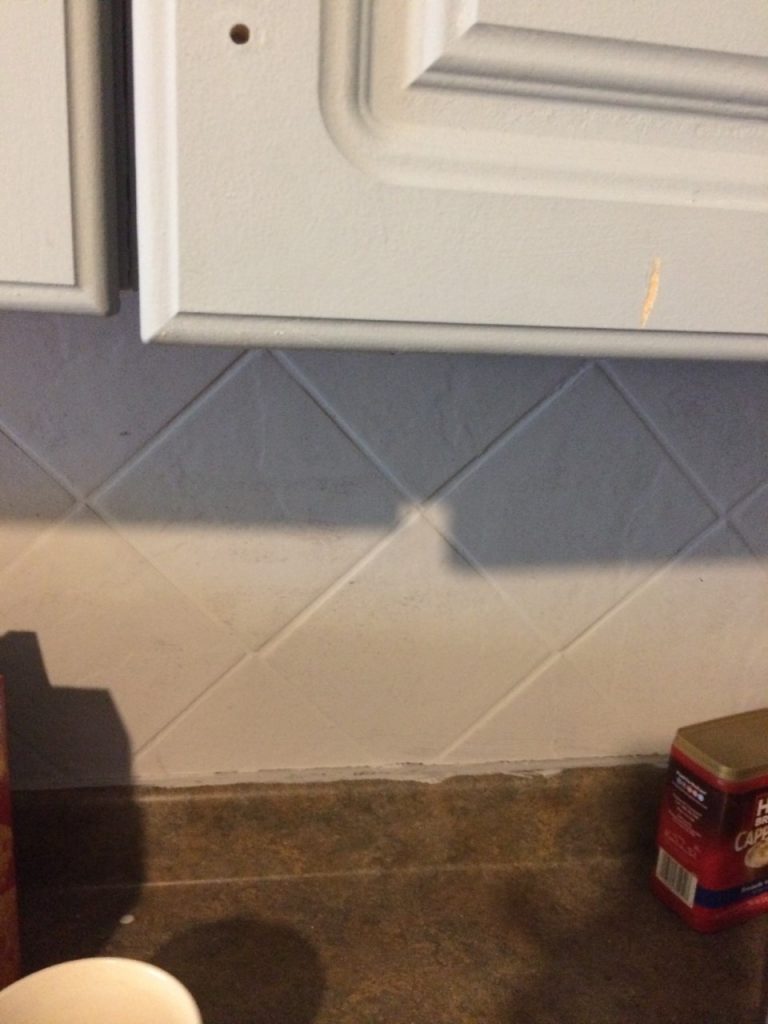
So you’re probably wondering where all of those colors came from. In order to create this finish, I actually chopped up an CLEAN old car wash sponge (the kind with the big holes in it) and applied the paint with a piece of sponge. If your budget allows, they do make sponges for painting, and they may or may not be better- your call.
I took my sponge piece and dipped one corner in the Rustoleum grey chalk paint and the other corner in the Behr Gingham. I tapped off the sponge onto a plate so I didn’t apply gobs of paint at one time. To make the blue stone like pattern, I dabbed the sponge onto the backsplash and rotated it as I went- not following in lines and wandering a bit. Yes, I did get paint all over the grout lines- it was easier for me to go back in after the tiles dried and do the grout lines in the grey with a small paint brush.
This backsplash was the very start of my kitchen makeover, and I am working on a whole lot more. I will share my kitchen makeover in stages- so far I did the backsplash at least 6 months ago at the time of this post and it’s still looking really nice with no scratching, chipping, anything really. Interestingly, I did not seal the backsplash. Yup, you heard that correctly- I did not seal it. Retrospectively, I probably should have? Eh. Hm. Anyway, if I was going to seal it- I would use a matte spray finish poly topcoat or something along those lines. The clear gloss you see above I used for sealing my cabinets…. pics to come 🙂
Oh, yeah- and the price check on this little refresh was about $30 in paint. My garage storage already owned the sponge.