
How to Craft A Custom Desk From $5 Common Pine Boards
In the newfound work-from-home era, I quickly realized that I needed a nice desk space to work from. My goal was to create a desk large enough for my home office to fit two computer setups comfortably.
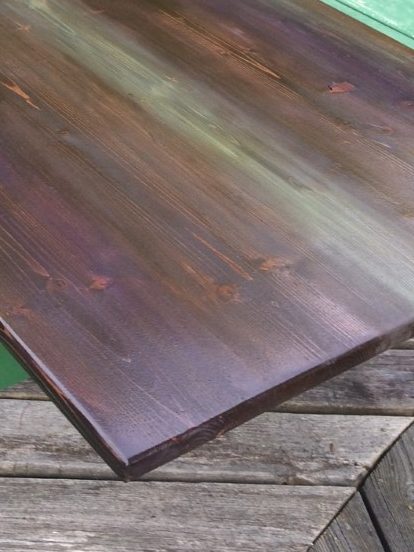
Here’s a glimpse at the finished product:
Alright, well let’s get crafty!
To make my custom desk, I started out at my local big box home supply store and picked up:
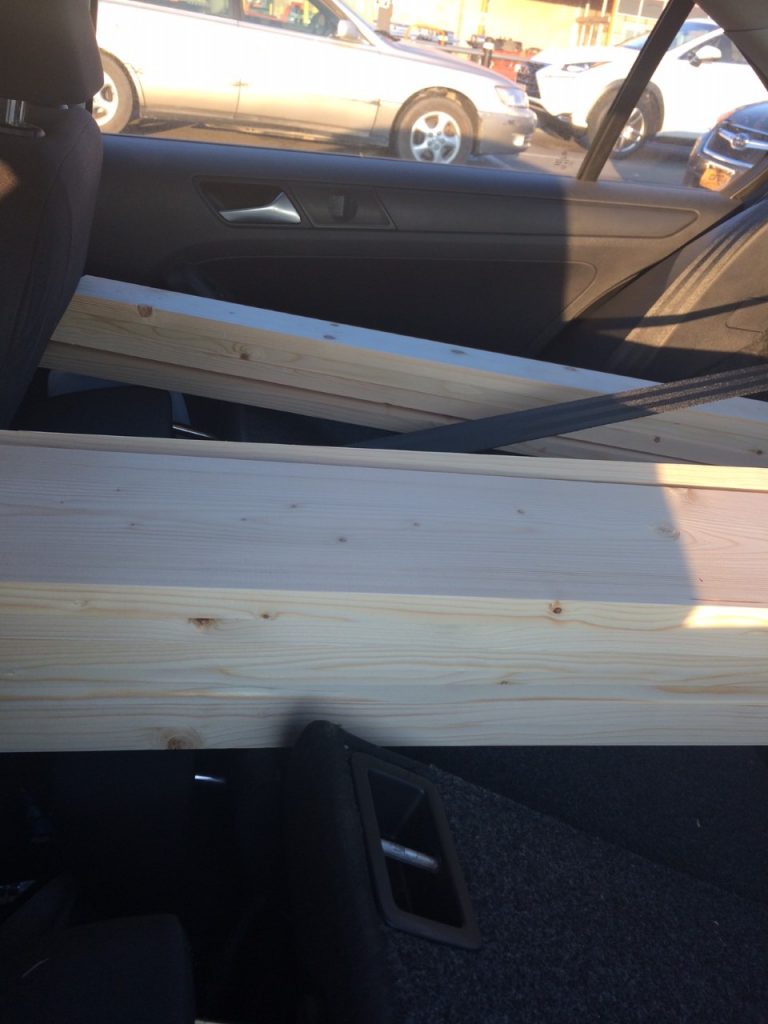
- Five 1″x6″x8′ common pine boards
- Two 1″x4″x8′ common pine boards
I think the whole thing came out to like $50 for the lumber. I went for the cheap stuff. The turnover on the cheap stuff is usually faster at the lumber departments near me, so I didn’t have a whole lot of trouble picking the nicest straight boards I could find.
And yes, with the back seats down it is possible to fit 8′ long boards into a passenger car.
On to the project!
Since I bought 8′ lumber, and I wanted an 8′ desk, I didn’t need to cut any pieces for the long boards. I did cut the 1″x4″ with my miter saw to make 4 pieces that were 28″ long and one piece that was ~60″ long for a cross support, angled at 45 on each end (see image). The cross support helps a desk that is this long from being bouncy. Although I did this with a miter saw, it can also be done with a handsaw and some grit and determination.
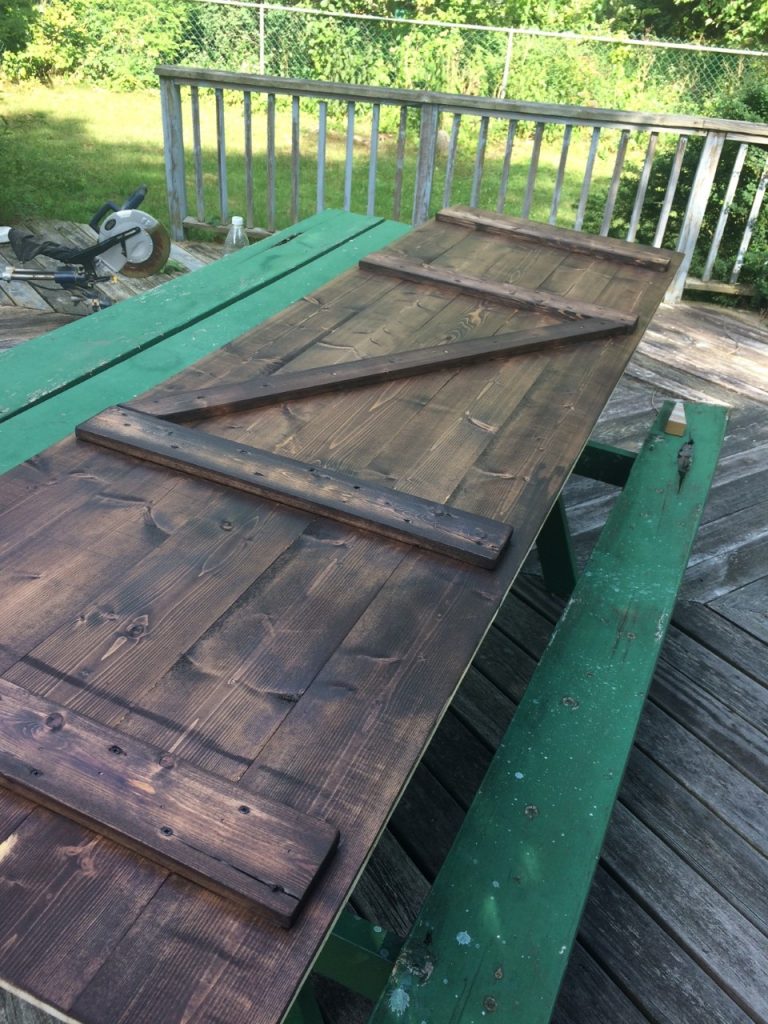
First, to transform my lumber into a desk I used a finish nail gun with 1/2″ finishing nails. (this one by Ryobi is pretty awesome because it doesn’t need a compressor: https://amzn.to/3mjSoY2) I lined up the 5 long 1″x6″ boards, and shoved them together to mark where I wanted to put my 28″ long 1×4’s. The outer 1×4’s are about 8″ in from either end, and I placed the inner set to match up with each other to make the “z” on top of the long boards. I wasn’t too particular about placement, since this was the bottom of the desk after all. I used my finishing nailer to anchor one inner 1×4″ to the line of long boards, pressing the long boards together as I went. Since I had taken the time to choose the straightest lumber possible and laid the boards out so they met up well, I didn’t have too many problems. After anchoring down one inner 1×4″, I anchored the other inner 1×4″, followed by the outer 1x4s and then the center cross board. Phew! Desk built…. almost. Finishing nails aren’t strong enough to hold a desk like this together on their own, so I followed up with 1 and 1/2″ screws (check out the awesome pattern below).
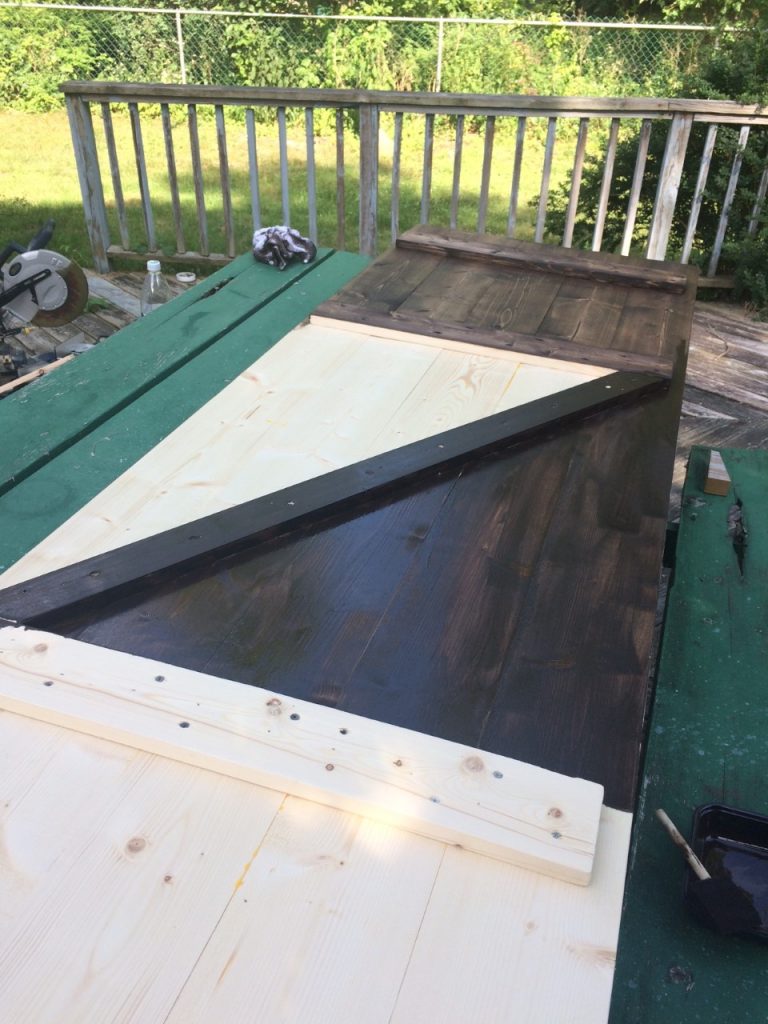
I was pretty excited that I had built a thing. It was super. So excited in fact that I immediately stained the bottom of the desk. I did not use a wood conditioner for this (too much excitement)- I rubbed the stain on with a clean old cloth and rubbed it off after a few minutes. I used the Varathane Kona stain (found here: https://amzn.to/3fI5FHy) and I was stoked at the awesome brown color- especially since it didn’t have any weird redness some of the other brown stains have. In the pic above, the end is wiped off and ready to go, the dark inner piece has already been stained, and the natural wood is also showing for comparison.
Yes, you’re probably saying “WOW she didn’t even sand it before she stained it!” and yeah, for the bottom of the desk you’d be correct. I really was that excited. For the top of the desk, on the other hand, I did sand things down to baby smooth using my handheld random orbital sander (like this one: https://amzn.to/2Jlp4C7) which saved me a whole lot of time. I started with 80 grit sanding discs, and quickly realized that I’d need some filler to make everything ok.
Pro tip for filler: I used sawdust from my sander’s collection bag and mixed it on a plate with regular old wood glue and Kona stain so it would be the same color as my finished product. I’d recommend using gloves for this- my fingers were gross for days.

After filling, I let my homemade filler dry. Then I sanded again using my handheld orbital sander using one pass over all surfaces with 80 grit, 110 grit and 220 grit. I also ran the sander down the sides of the desk and lightly down all corners for a softer look. Side note- I’m a big fan of the Diablo sanding discs, but something like these https://amzn.to/3fNzeHu would work fine too.
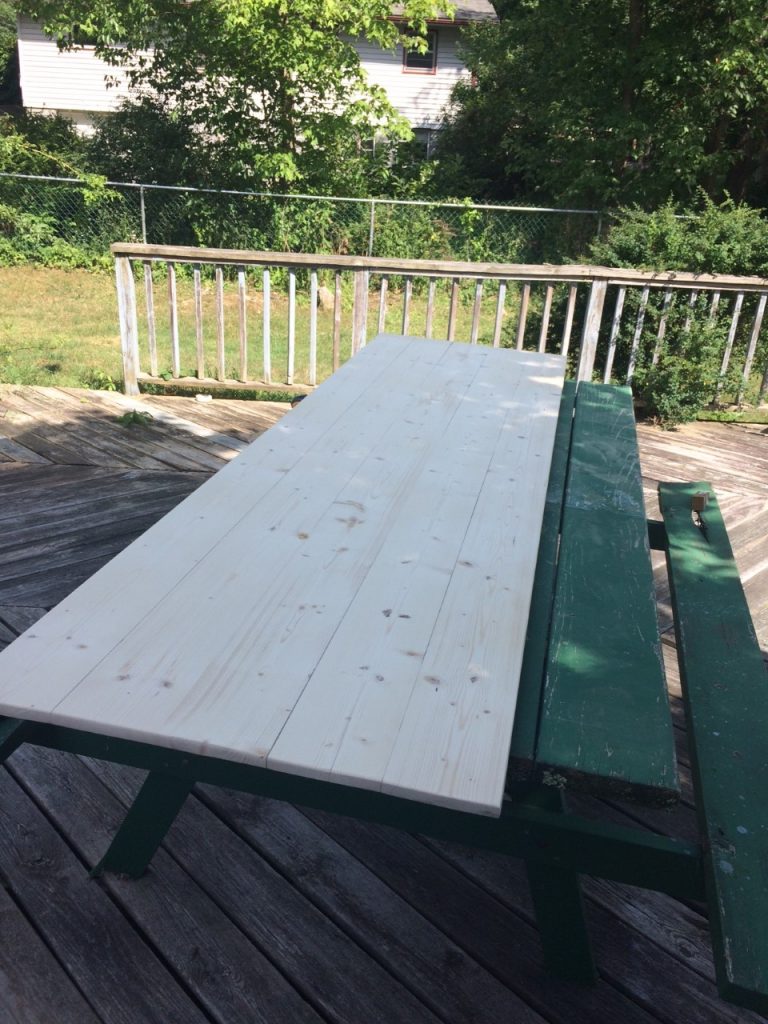
Alright! Ready for some color!!!! I stained the entire piece Kona brown by wiping on the stain with a rag and then wiping it off after a few minutes. I didn’t leave the stain on very long at all and ended up with a beautiful color.

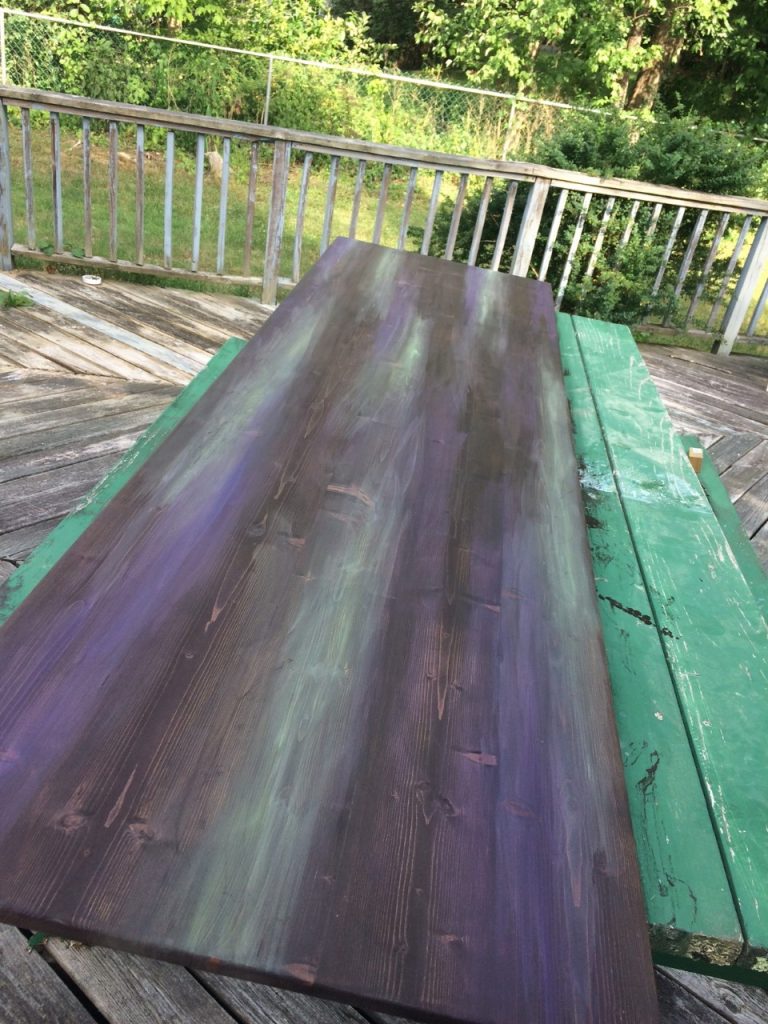
The Kona brown looked lovely, but I wanted something with a bit of a punch of color- so I decided I was going to dry brush on some green and purple. I watered down regular old acrylic paints so they were more water than paint. I think I used DecoArt, but something like this would work great also: https://amzn.to/2HLbHKO. Using a super cheap dry chip brush (similar to this: https://amzn.to/2JhHS5s) I applied the paint in streaks, alternating colors and leaving some plain brown showing.
I wanted a really shiny surface that would be super durable, so I let everything dry and I applied three coats of Watco wipe-on poly (https://amzn.to/3q8TI2k) with a foam brush. I let the poly dry between each coat, and used a fresh foam brush for each coat also.

I was pretty happy with how the desk top turned out. I fastened some awesome hairpin legs onto the desk that I got off of Etsy (somewhere around $40?) and my desk was ready to go.
Let me know what you think! 🙂

One Comment
GRANATA4684
Thank you!!1